
How to Edit an SVG File Online
Vector Ink is not just an SVG editor; it's a comprehensive suite packed with intuitive features unmatched by other vector design apps. Here's why it stands out as the best option for online SVG editing:
Vector Ink is renowned for its intuitive design, robust feature set, and seamless cloud integration, making it a top choice for designers looking to streamline their SVG creation process. In this video tutorial, we delve into 10 essential tips and tricks that will enhance your productivity and creativity within Vector Ink.
This tutorial is packed with insightful tips that cater to both novice and experienced designers. Here's a snapshot of what you'll discover:
Each tip is demonstrated with clear, step-by-step instructions to ensure you can apply them easily to your own projects. Whether you're refining your design technique or looking to speed up your workflow, these tips will provide you with valuable insights to enhance your use of Vector Ink.
Don't miss out on discovering how to leverage these powerful features to bring your vector designs to the next level. Watch the video now and start integrating these tricks into your design process today!
Vector Ink is not just an SVG editor; it's a comprehensive suite packed with intuitive features unmatched by other vector design apps. Here's why it stands out as the best option for online SVG editing:
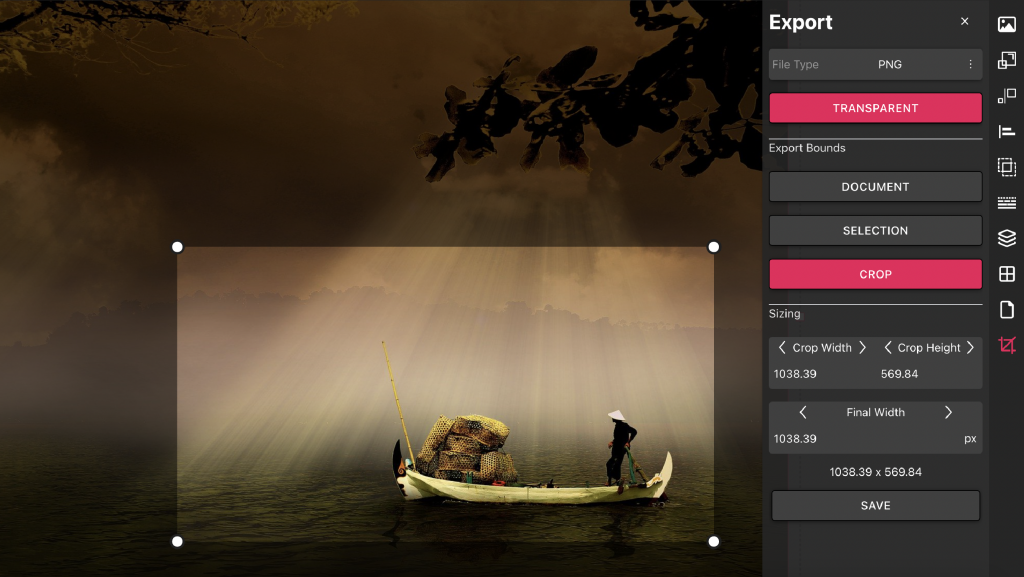
Vector Ink isn't just a robust vector editor—it's also a free online tool for resizing and cropping images effortlessly. Whether you need to adjust the size of a photo, add text overlays, clip your image into a shape, or modify its colors using blend modes, Vector Ink makes it simple and straightforward.
In this video tutorial, we demonstrate how to create an "SJ" logo using Vector Ink's outline text feature combined with the Path Builder tool. You'll learn step-by-step how to transform simple text into a sleek, customized logo that reflects your brand's unique identity.
Vector Ink is not just an SVG editor; it's a comprehensive suite packed with intuitive features unmatched by other vector design apps. Here's why it stands out as the best option for online SVG editing:
Designing a logo can be an intimidating task with numerous elements to consider. In our latest video tutorial, we simplify the process by demonstrating how to use the Vector Ink logo grid system to create a professional-looking "P" logo. We'll also guide you on selecting the perfect colors for your logo using our extensive color palette library.
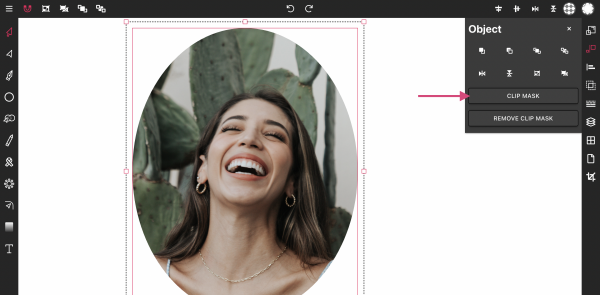
Masking images into any shape is easy and convenient with Vector Ink's online app. Image masking allows you to crop your image into a chosen shape, creating everything from single image edits to complex collages. Import your photos, add shapes, and crop the images into these shapes with a single click. The process is limitless, entirely free, and does not include watermarks.