How to Combine Two Letters into One Logo | Intertwined Monogram Design in Vector Ink
In this tutorial, you'll learn how to transform two simple letters into a p...
Masking images into any shape is easy and convenient with Vector Ink's online app. Image masking allows you to crop your image into a chosen shape, creating everything from single image edits to complex collages. Import your photos, add shapes, and crop the images into these shapes with a single click. The process is limitless, entirely free, and does not include watermarks.
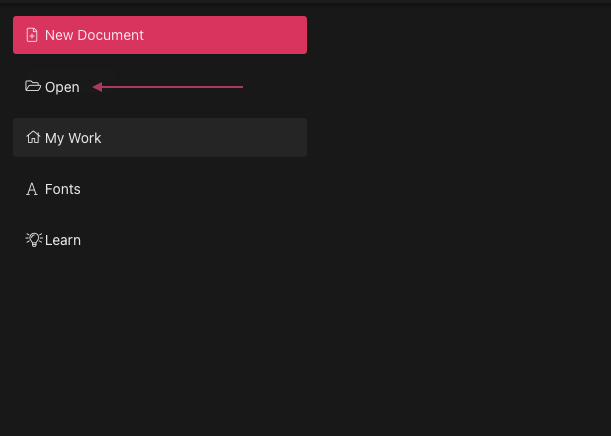
Begin by opening the Vector Ink web app. Click "Open" to access the file explorer and select the photo you wish to edit from your device.
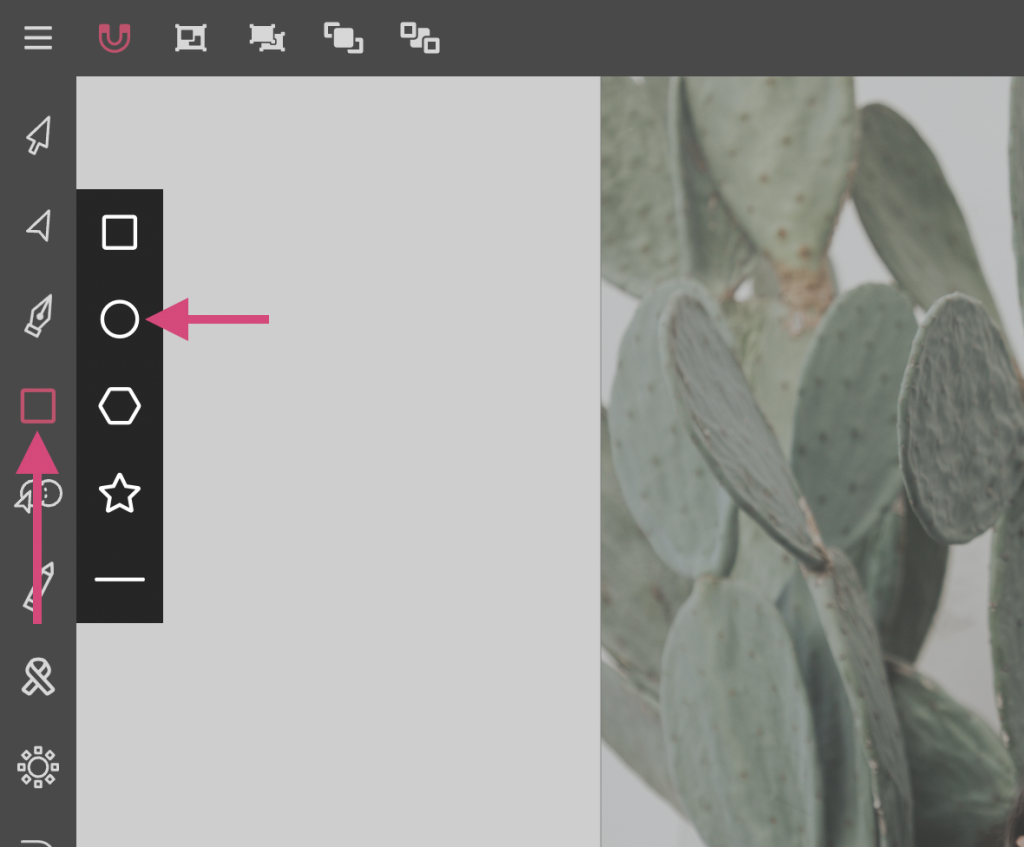
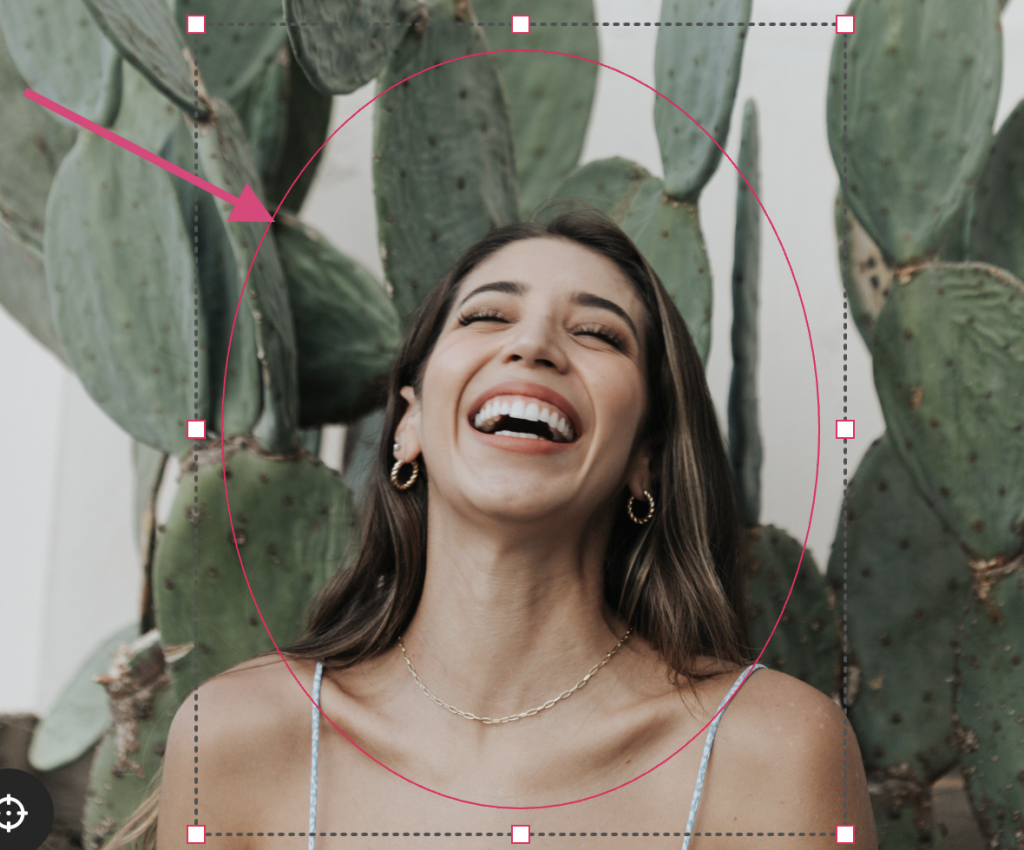
After uploading your image, you'll enter the canvas. Tap on the Rectangle Tool in the toolbar, then tap again to open the shapes menu. Select the shape you want to use for masking; for this tutorial, we'll choose a circle. Drag your mouse over the area of the image you want to crop out, then activate the Selection Tool to fine-tune your selection.
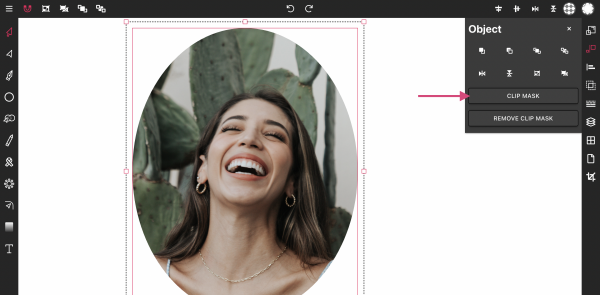
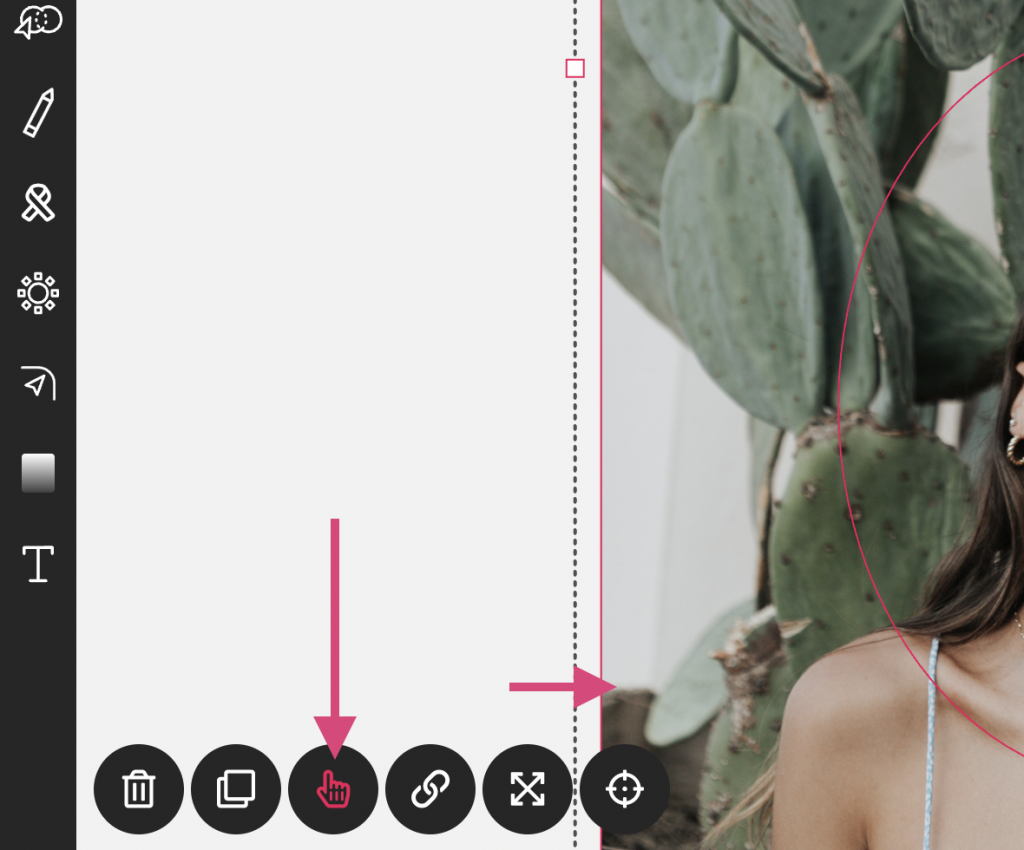
Navigate to the Object panel via the toolbar on the right and click the "Send To Back" icon to position the shape behind the image. Activate the hand icon at the bottom left to enable multiple selection, then select both the image and the shape behind it.
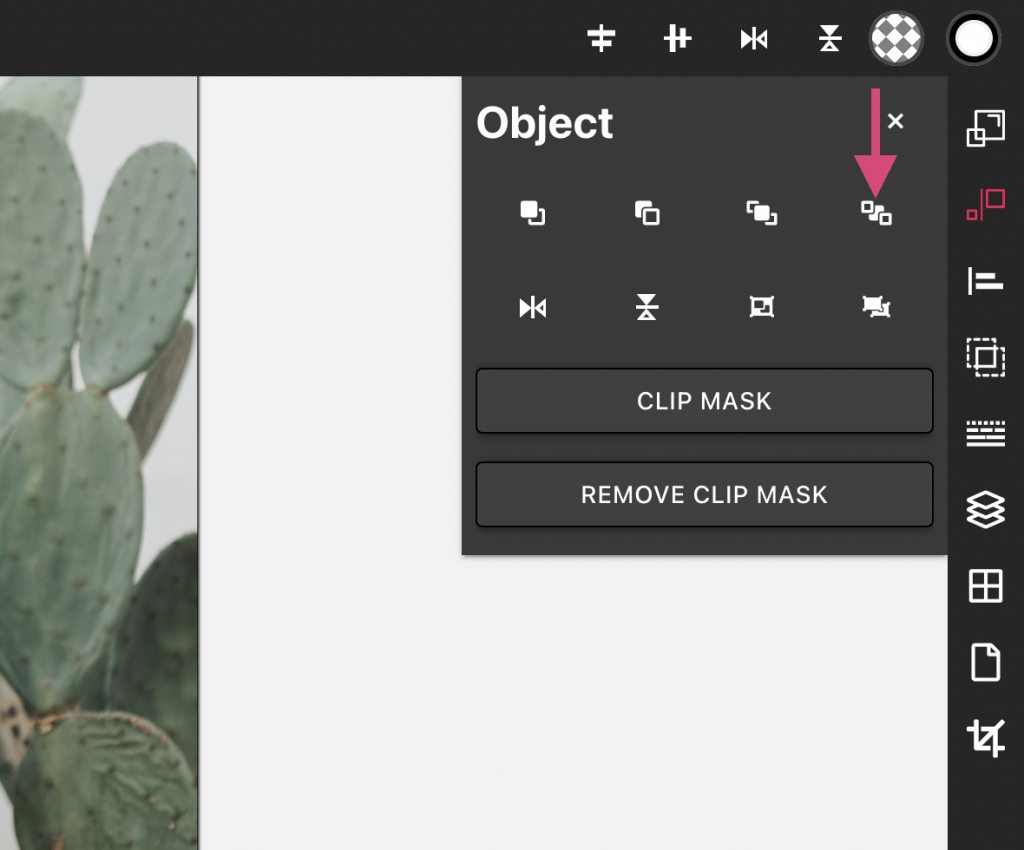
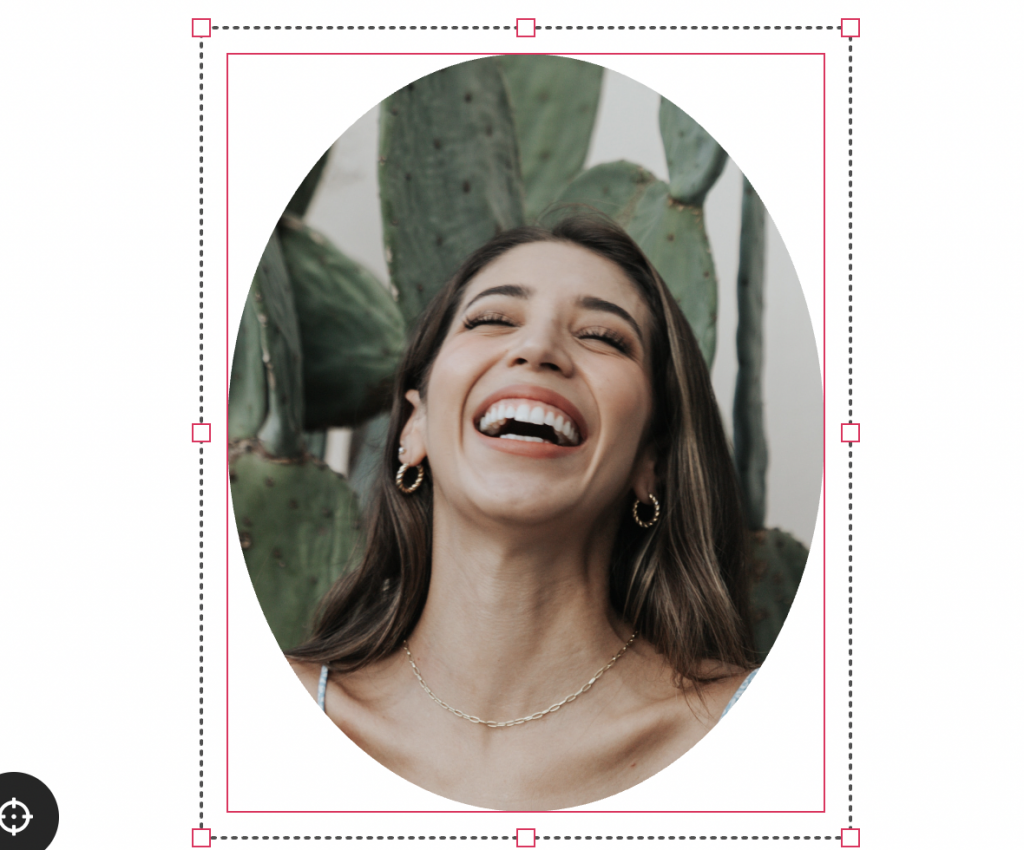
With both the image and the shape selected, open the Object panel again, click "Clip Mask", and your image will be masked within the shape, transforming it as specified.

Explore further by creating custom photo collages using various shapes like squares, circles, and stars, or even draw your own shape with the Pen Tool to create a unique mask. Vector Ink opens up endless possibilities for creative image masking.
In this tutorial, you'll learn how to transform two simple letters into a p...
Discover how easy it is to open the Vector Ink Icon Library, import icons t...
Most icon libraries offer a handful of basic shapes and call it a day. Vect...
Vector Ink is more than just an online SVG editor; it's a versatile tool th...