How to Combine Two Letters into One Logo | Intertwined Monogram Design in Vector Ink
In this tutorial, you'll learn how to transform two simple letters into a p...
Designing a logo can be an intimidating task with numerous elements to consider. In our latest video tutorial, we simplify the process by demonstrating how to use the Vector Ink logo grid system to create a professional-looking "P" logo. We'll also guide you on selecting the perfect colors for your logo using our extensive color palette library.
Vector Ink is not just any online SVG editor; it's a sophisticated tool designed for crafting intricate vector logos efficiently. What would typically take minutes in traditional vector design software takes only seconds in Vector Ink, thanks to its intuitive interface and powerful tools.
The Vector Ink logo grid system leverages geometric shapes as the foundation for logo creation. Start by placing basic shapes like squares, lines, and circles on the grid. Then, employ the Path Builder Tool to sculpt new, intricate shapes from the intersections of these basic forms. This tool provides enhanced precision compared to similar tools in other software, allowing for detailed and precise path modifications.
Selecting the right colors is crucial for ensuring your logo performs well across various mediums, whether displayed on digital platforms or printed on business cards and letterheads. Consider how colors interact in different lighting conditions. You might opt for a light primary color complemented by a darker shade for printed materials or choose two harmonious colors that enhance each other. Explore different combinations using Vector Ink's color palette library or the color palette generator until you discover the perfect match for your brand.
Watch our step-by-step video tutorial embedded in this post to see exactly how you can design a distinctive "P" logo using the logo grid method with the Path Builder Tool. This tutorial will equip you with the skills and confidence to create your own professional logos using Vector Ink's web app.
In this tutorial, you'll learn how to transform two simple letters into a p...
Discover how easy it is to open the Vector Ink Icon Library, import icons t...
Most icon libraries offer a handful of basic shapes and call it a day. Vect...
Vector Ink is more than just an online SVG editor; it's a versatile tool th...
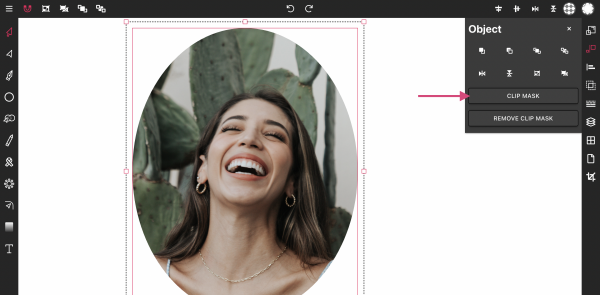
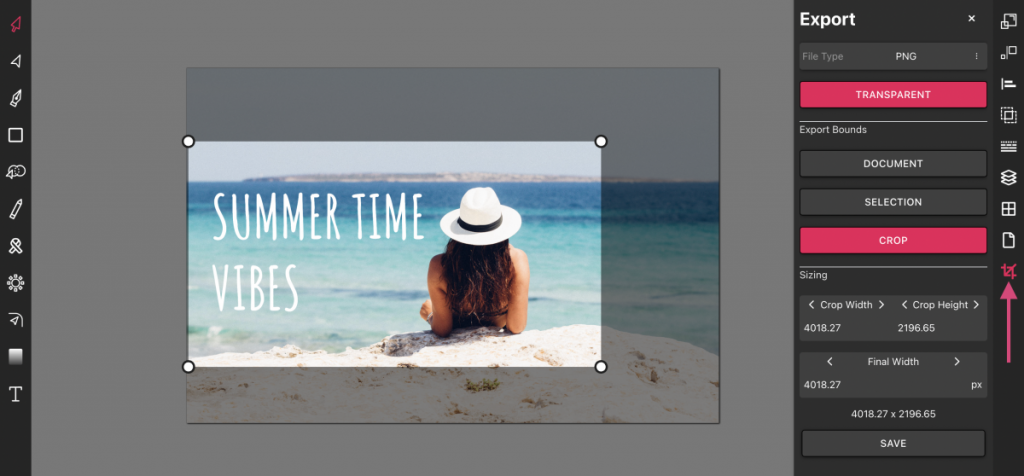
Masking images into any shape is easy and convenient with Vector Ink's onli...

Vector Ink is not just an SVG editor; it's a comprehensive suite packed wit...