Master the Text Tool in Vector Ink: Add, Edit, and Curve Text Along Any Path
Typography can make or break a design — and Vector Ink gives you total fr...

The Selection Tool is a fundamental component of Vector Ink, essential for moving and transforming objects on your canvas. This tool is accompanied by an array of options, shortcuts, and controls designed to streamline your design process.
When you activate the Selection Tool, the Selection Tools toolbar will appear along with the Transform and Object controls, which are located in the control bar to the right of the screen, or at the bottom if you are using a phone.
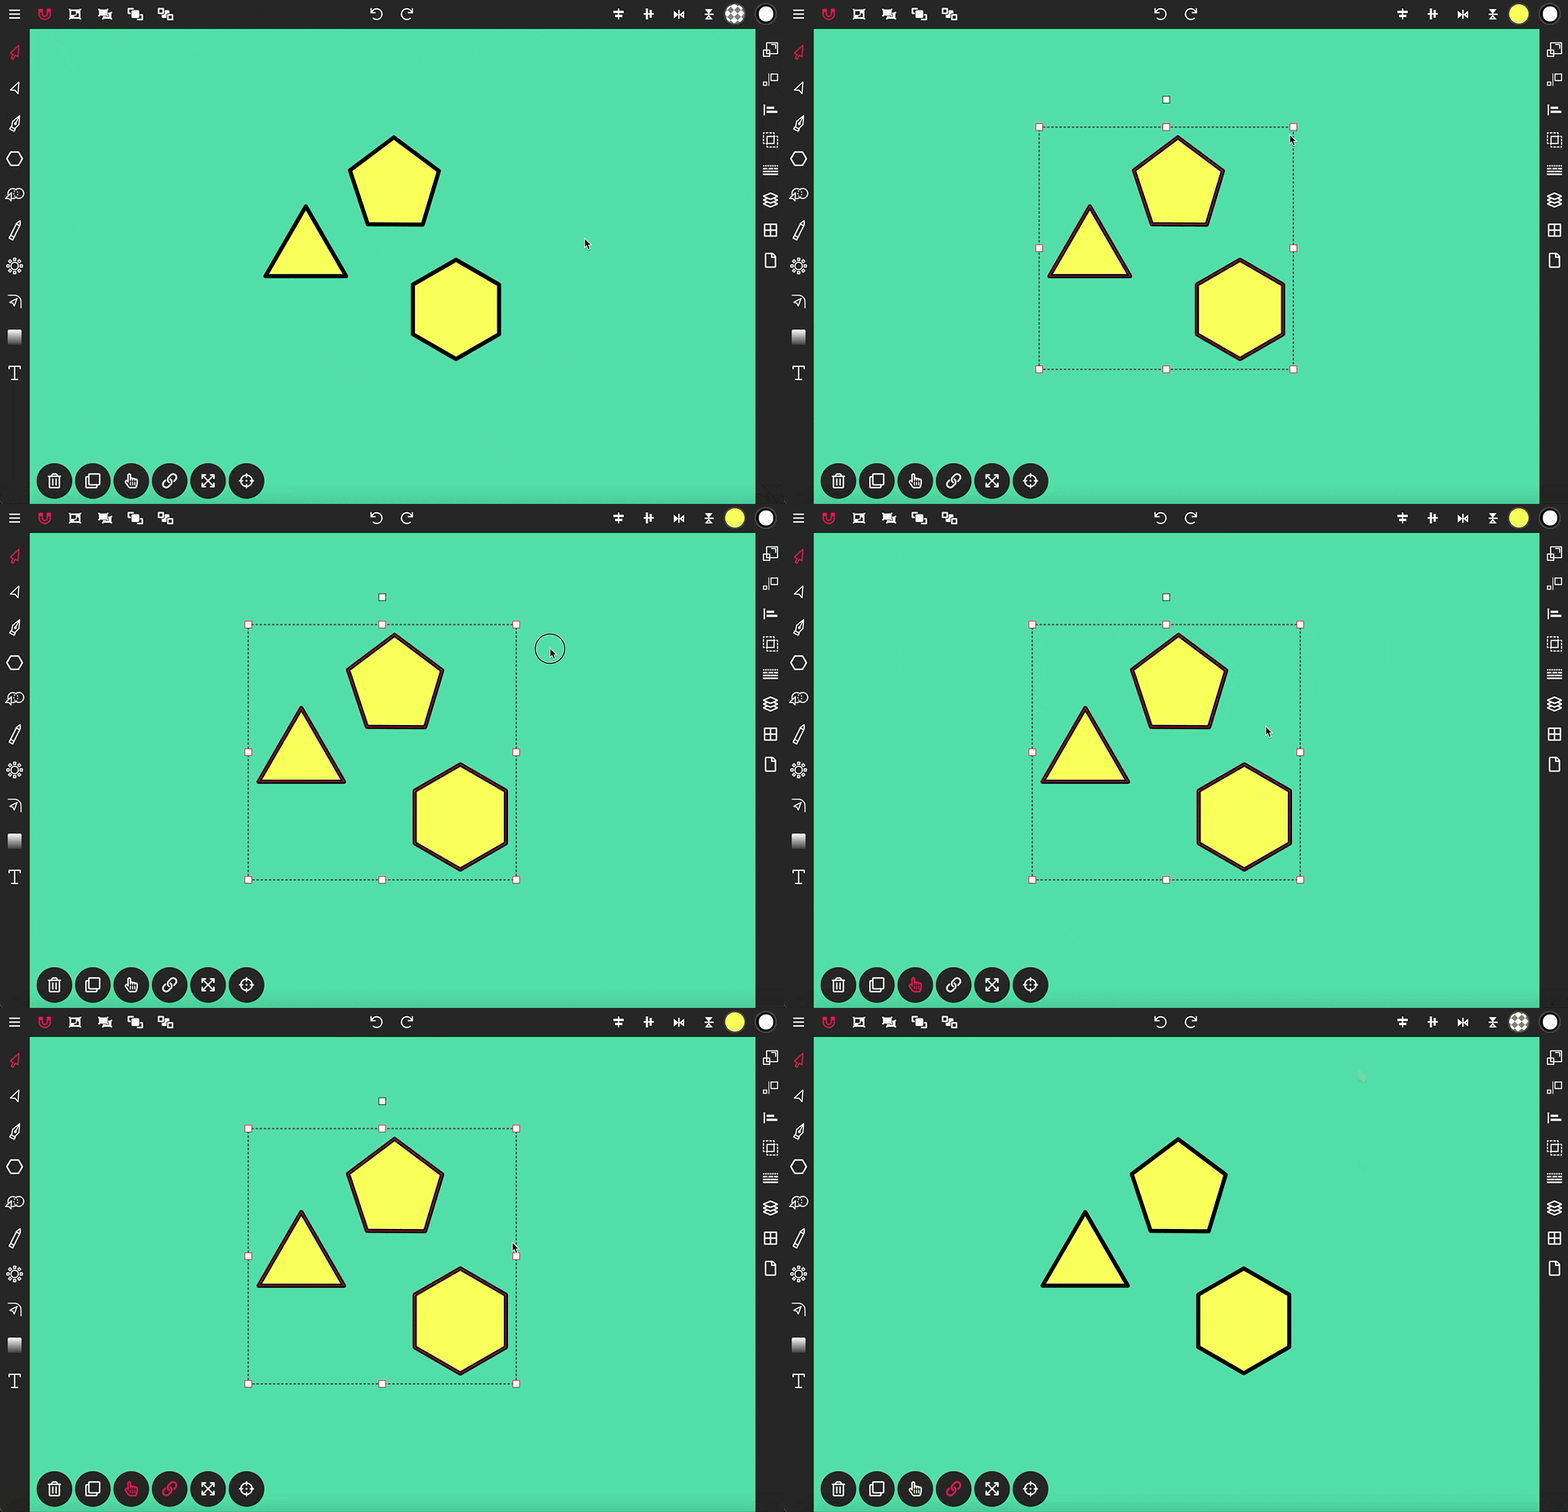
By default, the Selection Tool is set to transform mode. To switch to scale mode, tap on the top right handle of a selection. This action makes all other transform handles disappear, focusing on scaling. Scale mode allows you to conveniently scale the selection evenly from its center point.For users with a mouse and keyboard, you can scale the selection in transform mode by holding the "Shift" key while dragging a handle outward. To scale from the center, hold both the "Shift" and "Cmd" (Mac) or "Ctrl" (Windows) keys while dragging. Additionally, you can use the "Constrain Tool" found in the Selection Tools toolbar, in conjunction with the "Scale From Center" tool, to scale the selection from its center point more precisely. Using the "Scale From Center" tool without the "Constrain Tool" will stretch the selection outward from the center.
To scale or rotate the selection around a specific anchor point on the canvas, activate the "Anchor Tool". Once activated, drag the anchor handle to your desired location.
To select multiple shapes simultaneously, drag the selection box completely over the objects you wish to include. You can also add shapes to your selection one at a time by enabling the "Multiple Selection Tool" and clicking on the shapes you want to include. Clicking a shape again will remove it from the selection.
To duplicate the selection, use the shortcut "Shift + Cmd + D" (Mac) or "Shift + Ctrl + D" (Windows), or click the "Duplicate Tool" in the Selection Tools toolbar. To delete selected objects, simply press the "Delete" key on your keyboard or click the trash icon found in the Selection Tools toolbar.
These features make the Selection Tool a powerful ally in your design workflow, allowing you to manipulate objects with precision and ease in Vector Ink.
Typography can make or break a design — and Vector Ink gives you total fr...
Vector Ink’s new Shape Builder Tool is a total game-changer for vector de...
Shadows add instant depth, hierarchy, and polish to your vector designs. In...
With the Pen Tool, you can draw paths with sharp or smooth anchor points an...
Use the Rectangle Tool to draw a rectangle shape onto the canvas. To get st...
The Draw Tool is essential for freehand drawing, offering options for smoot...