How to Combine Two Letters into One Logo | Intertwined Monogram Design in Vector Ink
In this tutorial, you'll learn how to transform two simple letters into a p...
Vector Ink isn't just a robust vector editor—it's also a free online tool for resizing and cropping images effortlessly. Whether you need to adjust the size of a photo, add text overlays, clip your image into a shape, or modify its colors using blend modes, Vector Ink makes it simple and straightforward.
Start by opening the Vector Ink app and clicking "Open" to upload the image you want to resize. Once uploaded, you will automatically be taken to the canvas, where the document will adjust to the size of your image.
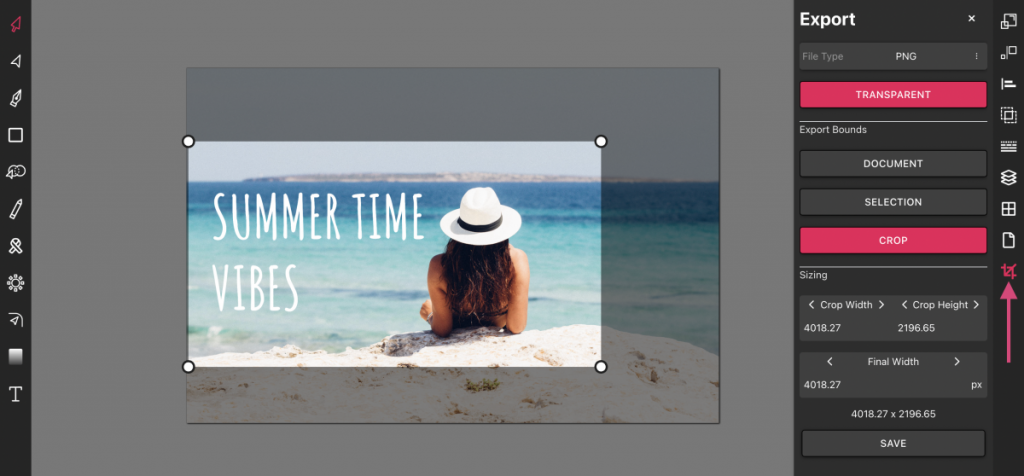
To resize your image, click the crop icon located at the bottom right of the canvas. This action will open the export panel, where you can easily manage the dimensions of your image.
In the export panel, set the final width for your image. The height will automatically adjust to maintain the aspect ratio. Once you've set the desired width, click "Save" to download the resized image to your device.
Need a specific part of your image? No problem! Click the "Crop" button, then drag your mouse over the area of the image you want to keep. Set the final width for this cropped section and click "Save" to finalize your edits.
It's that easy! And best of all, it's completely free. Whether you're resizing for web use, social media, or personal projects, Vector Ink offers a convenient and powerful solution right at your fingertips.
In this tutorial, you'll learn how to transform two simple letters into a p...
Discover how easy it is to open the Vector Ink Icon Library, import icons t...
Most icon libraries offer a handful of basic shapes and call it a day. Vect...

Begin by opening the Vector Ink web app. Click "Open" to launch the file ex...
Vector Ink is more than just an online SVG editor; it's a versatile tool th...
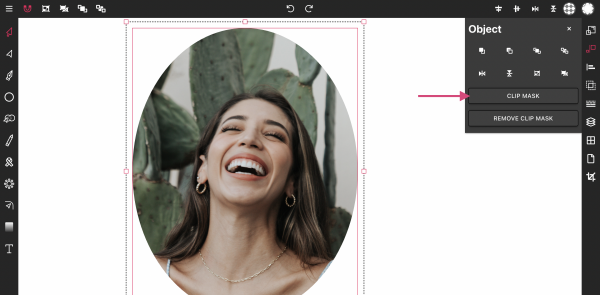
Masking images into any shape is easy and convenient with Vector Ink's onli...