Master Stroke Properties in Vector Ink: Outlines, Widths & End Caps Explained
Take complete control of your outlines with the Stroke Properties Panel in ...
Clean vector paths are the backbone of logos, icons, and illustrations. In this tutorial, you’ll learn how to draw with the Pen Tool, refine geometry with the Point Tool, and use the Path Control Panel to smooth, convert, and join paths with surgical precision.
Most objects in Vector Ink are paths made of connected points. Activate the Point Tool (below the Selection Tool) and tap an object to reveal its points. Drag a point to reposition it (snapping assists precise moves).
Action Menu (Point Tool):
With the Pen or Point Tool active, open the Path panel to control path behavior:
Activate the Pen Tool to place points and build a path. Tap to create straight segments; tap again to continue. Tap the starting point to close the path.
For smooth curves, tap and drag to pull out handles before releasing. Continue placing and dragging for flowing curves. You can switch to the Point Tool anytime to fine-tune handles, convert joints, or adjust geometry.
How do I make a sharp corner again?
Select the point and set its joint to Corner in the Path panel.
Why did my closed shape split?
You probably used Cut Path at two spots. Use Close Path to reconnect or Join Paths on endpoints.
When should I simplify?
After freehand drawing or tracing, simplify to reduce points and improve editability without changing the silhouette.
Combine the Pen Tool, Point Tool, and Path Control Panel to produce professional, edit-friendly vectors. Open Vector Ink and start crafting precise paths today.
Take complete control of your outlines with the Stroke Properties Panel in ...
Clean, consistent shapes are the foundation of strong vector design. In thi...
Shadows add instant depth, hierarchy, and polish to your vector designs. In...
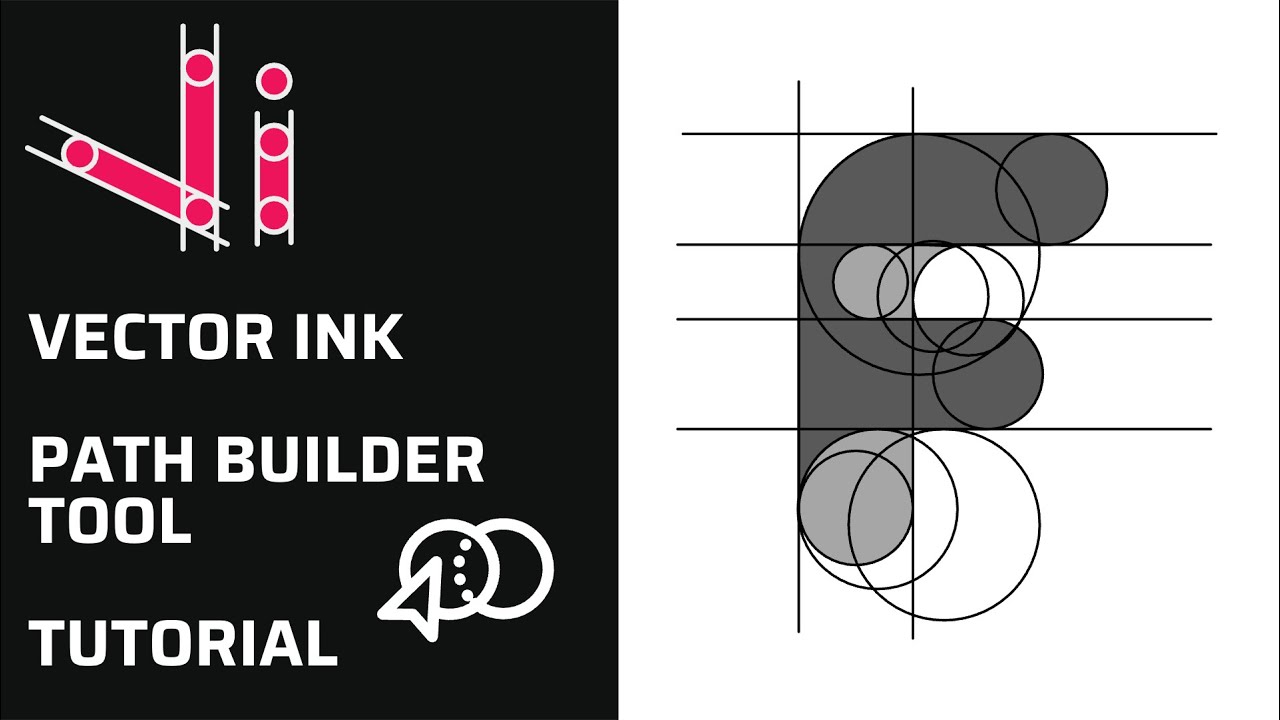
Vector Ink’s Path Builder Tool lets you combine, cut, and create complete...
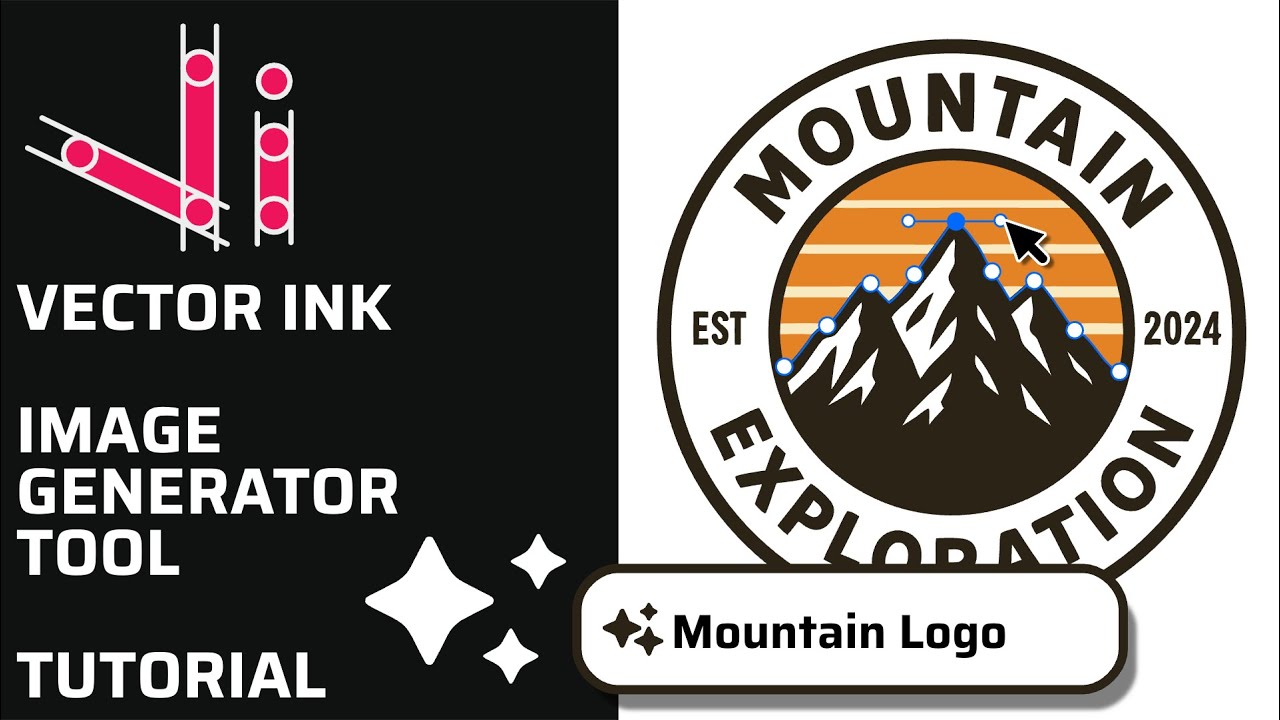
Vector Ink’s AI Image Generator lets you create logos, icons, illustratio...
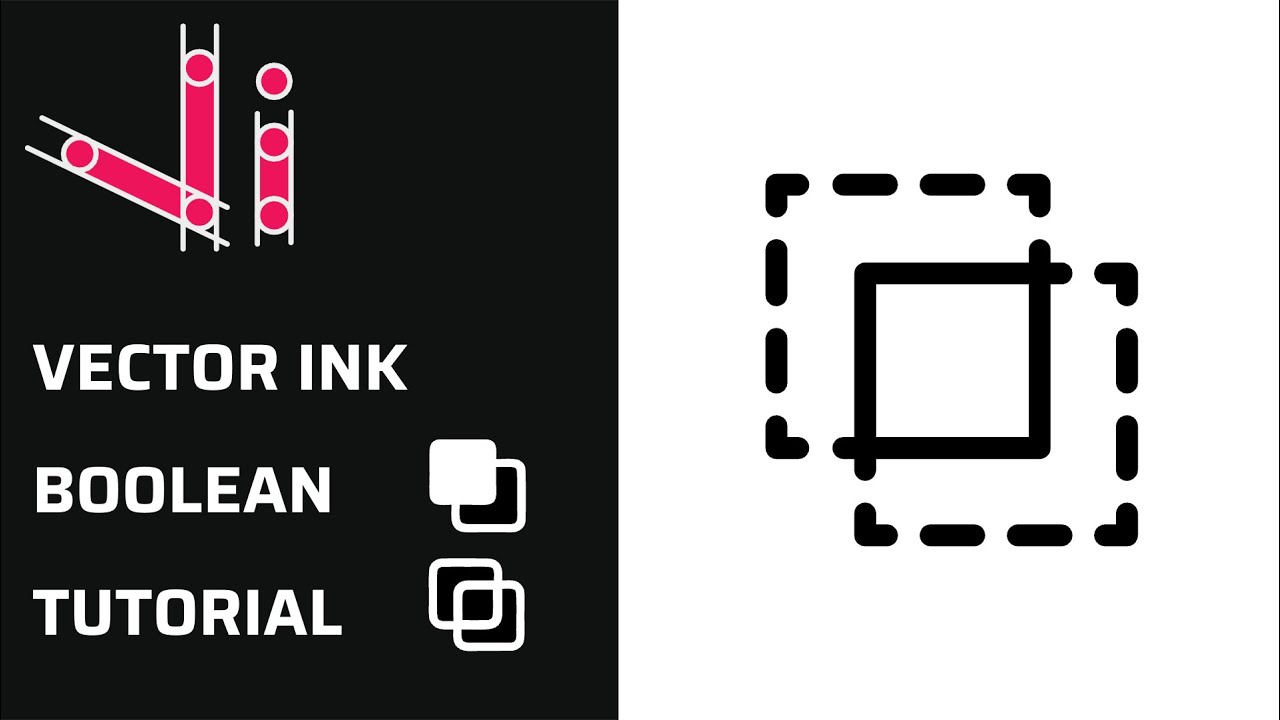
Boolean actions are the fastest way to build complex shapes from simple one...