Vector Ink AI Image Generator: Styles, Features, and Image-to-Image Redraw
Introduction
Vector Ink’s AI Image Generator lets you create logos, icons, illustrations, badges, textures, and more with guided styles and prompt controls — then refine results directly on the canvas. In this guide, you will learn how to generate art, switch styles, redraw existing images, vectorize raster results, and remove backgrounds, all without leaving Vector Ink.
What You’ll Learn
How to generate vector artwork using prompts and preset styles
Choosing ratios and understanding credits
How to use image-to-image redraw for consistent variations
Vectorizing raster outputs and removing backgrounds
Pro tips for cleaner, more controllable results
Getting Started: Prompt, Style, and Ratio
Open the AI Image Generator to see the prompt field, style presets, and the yellow on-canvas placeholder. The placeholder scales proportionally and respects the ratio you choose.
Styles: Choose from vector-oriented styles (flat, comic, decorative text, badge, vintage, cartoon, poster, modern logos) or switch to raster styles (textures, patterns, illustrations, realistic).
Ratios: Pick from common aspect ratios for the placeholder; generations fill that area.
Credits: Each generation uses 1 credit. Your remaining credits appear in the AI panel.
Generate Vectors with Preset Styles
Select a vector style, describe what you want (e.g., “woman holding a dry-erase board in a meeting”), and click Generate. Results arrive as editable vector groups you can ungroup, recolor, and tweak. Decorative text styles accept phrases (e.g., “chase your dreams – with hearts and stars”).
Pro Tip: Multiple Placeholders
You can place several placeholders and trigger generations on a selected one. This helps you stage layout ideas and fill different regions with unique assets quickly.
Generate Raster Textures and Patterns
Switch to Raster to create textures (e.g., dark wood, leather) or seamless patterns (e.g., rockets). Raster outputs are bitmap images — perfect for backgrounds and mood boards.
Image-to-Image Redraw (Keep the Essence, Change the Style)
With the AI tool active, select an object on the canvas to enter Redraw mode. Provide a short modifier prompt (e.g., “make the shoe purple and white”) and click Redraw. The AI produces a new, unique version that preserves key elements of the source without copying it exactly.
Convert Raster to Vector (Image → Vector)
Select a raster result and open the Image tab. Under Image to Vector, choose Color → Vector to trace it into clean, scalable paths. This is ideal when you generated a raster illustration or texture and want an SVG-friendly version.
Remove Background (Raster)
For raster images with unwanted backdrops, use Remove Background. This operation costs credits and returns a subject cutout. You can then mask, layer, or place it over gradients and shapes.
Best Practices for Better Results
Be specific, not verbose: Mention subject, style vibe, and key details (colors, mood, composition) in one concise sentence.
Match the style to the goal: Use vector styles for logos/icons; raster styles for photos, textures, or painterly looks.
Iterate in layers: Generate base forms first, then redraw for variations or vectorize and refine in the canvas.
Leverage palettes: After vector generation, use your color palettes and gradients to brand-match quickly.
One change at a time: When redrawing, vary a single parameter (e.g., color or pose) for predictable control.
Troubleshooting & Tips
No result yet? Keep the app open while a generation runs. You can switch tools, but avoid closing the app.
Too detailed? Pick a simpler style (e.g., flat or modern logo) and shorten the prompt.
Not on-brand? Vectorize (if raster), ungroup, and apply your brand colors and gradients.
Busy background? Use Remove Background or redraw with “no background” in the prompt.
Try It Now
Jump in and explore your ideas with AI — from logos and badges to textures and patterns — then refine everything with Vector Ink’s editing tools.
Launch Vector Ink and start generating on your canvas. Create a few variations, compare them side-by-side, and keep the best.
Whether you’re designing a logo, interface, or intricate vector illustration, alignment and organization are what make your composition feel balanced and professional. In this tutorial, we’ll explore Vector Ink’s Align and Arrange panels — powerful tools that let you snap, distribute, and organize elements with precision and ease.
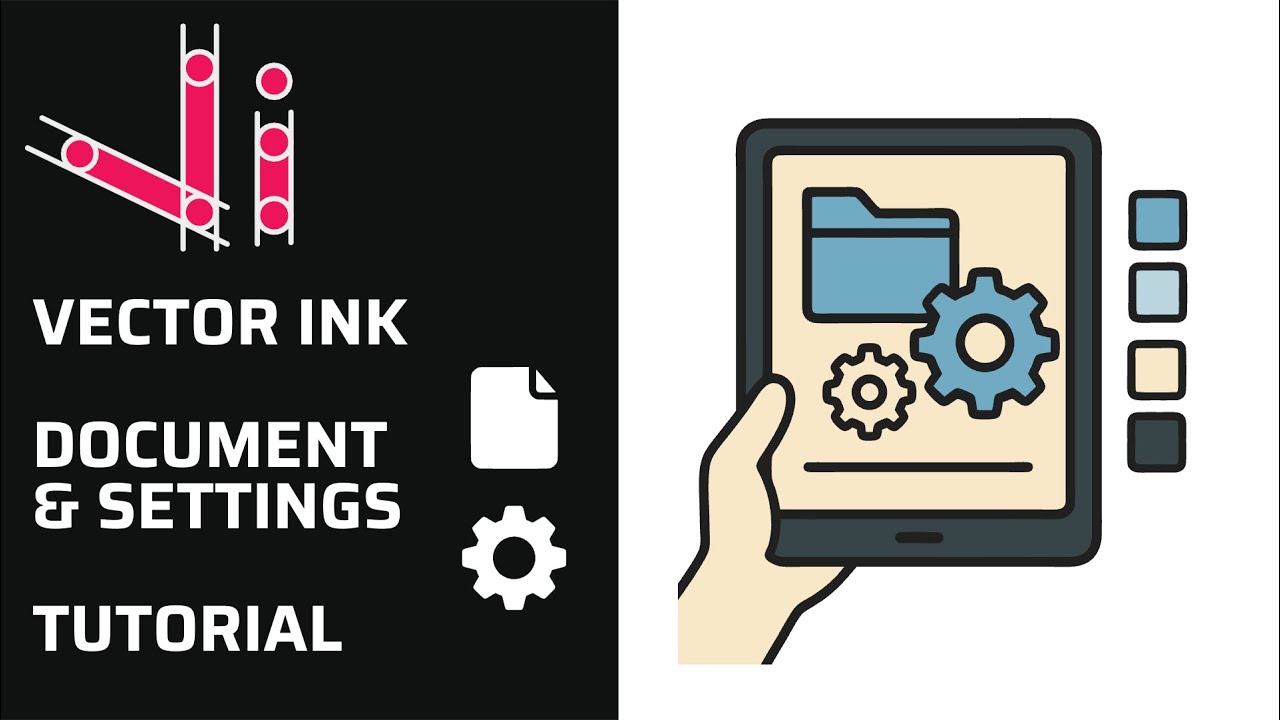
Dial in your workspace and outputs the right way. This tutorial covers Project Settings (grids, guides, rulers, snap), Document Settings (size, background, units), and Export options (PNG/JPG, transparency, selection bounds, and crop) so your designs are precise and production-ready.
The Selection Tool is your everyday driver in Vector Ink. It’s how you select, move, resize, rotate—and it unlocks powerful actions like multi-select, target-based alignment, scale from center, and anchor-based transforms. Whether you’re on desktop, tablet, or phone, this quick guide shows you how to work faster and more precisely.
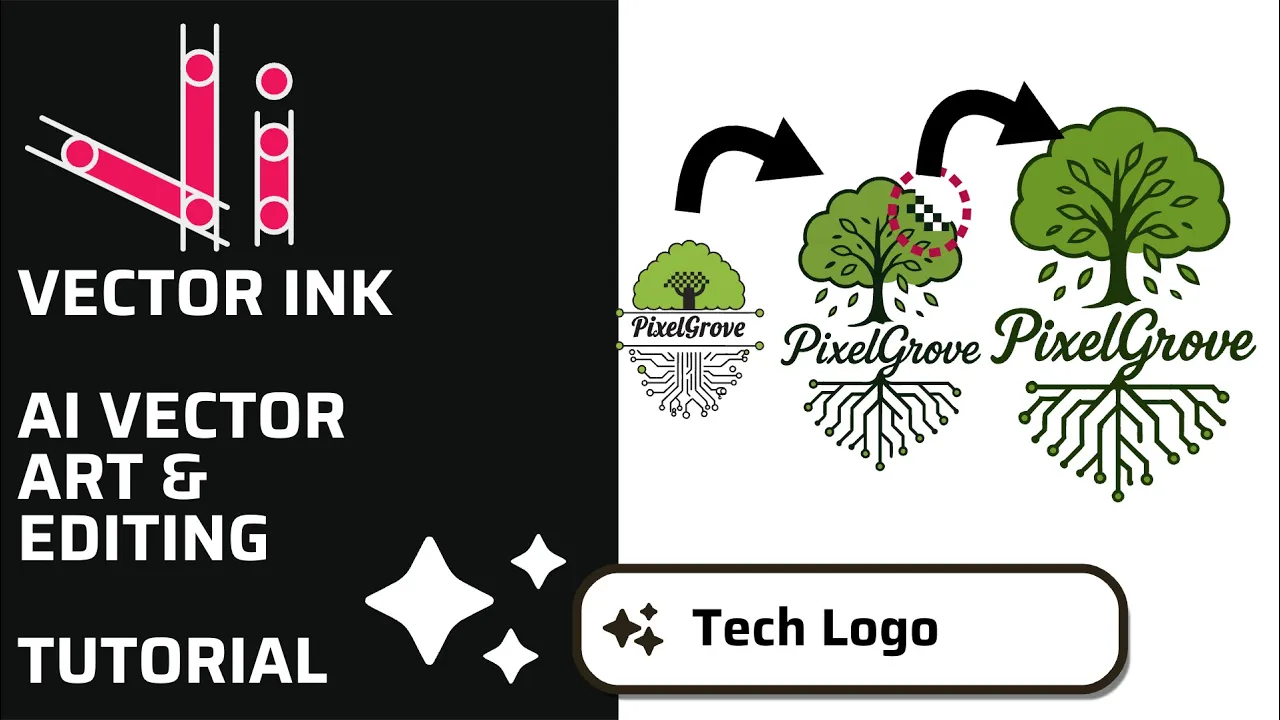
In this tutorial, we create a professional logo in minutes using the AI Image Generator inside Vector Ink. You’ll see text-to-image generation, smart redraws that riff on your selection, and masked image-to-image edits to surgically change parts of a design while keeping the rest intact.
This continuation of our Selection Tool series dives into the Control Bar and its most precise companion—the Transform Panel. You’ll learn how to apply numeric, exact edits for size, rotation, position, skew, and visibility so your logos, icons, and layouts snap into place with confidence.
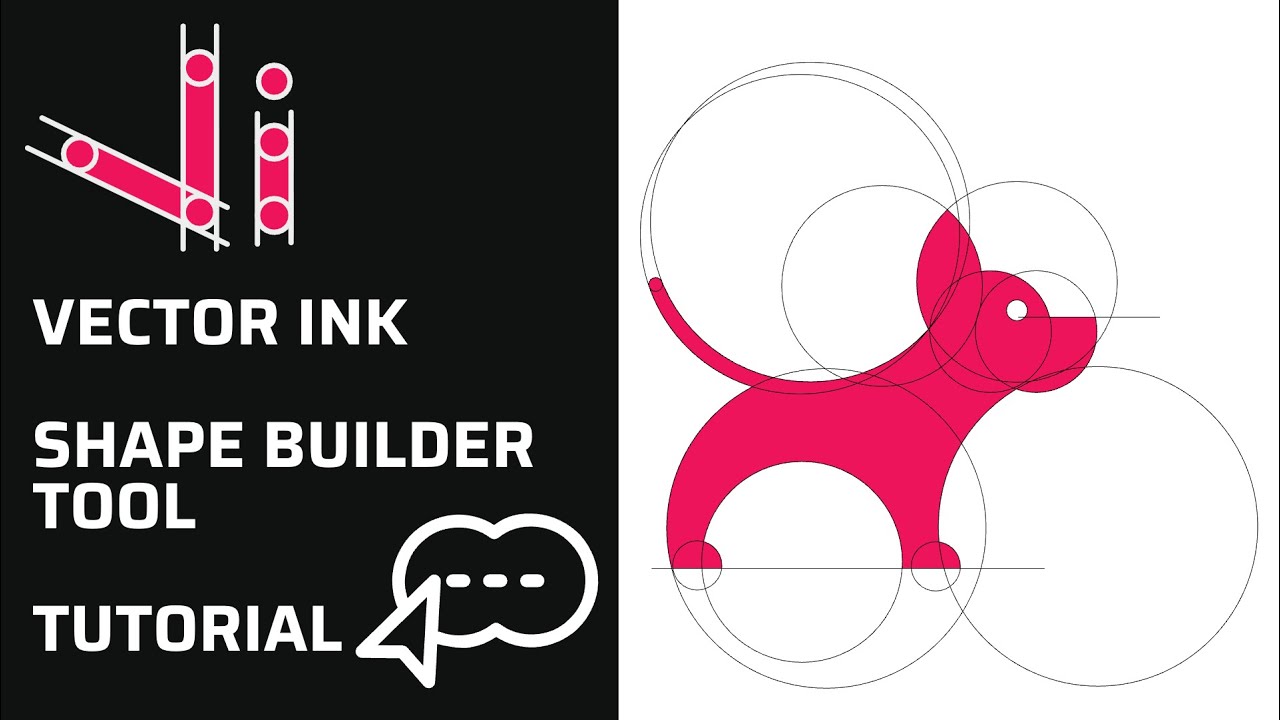
Vector Ink’s new Shape Builder Tool is a total game-changer for vector design. It takes everything you love about traditional shape builders — like in Illustrator or Affinity Designer — and makes it faster, cleaner, and easier to use. Whether you’re creating a logo, an icon, or intricate custom artwork, this tool turns multiple paths into one polished, professional shape with just a few drags.