
SVG to PNG: How to Convert SVG Files to PNG (and When You Should)
Sooner or later every designer, crafter, and marketer hits the same wall: y...
Clean, consistent shapes are the foundation of strong vector design. In this tour, we will walk through Vector Ink's Shape Tools and the built-in Icon Library so you can create polished logos, icons, and layouts quickly and with precision.
Open the Shape Tools from the toolbar (smiley icon with a small triangle). Tap once to use the current tool, or tap again to reveal the full list of shapes. Below are the essentials and when to use them:
Best for: buttons, cards, badges, UI blocks.
Use Constrain to force a perfect square and Scale from Center for symmetrical sizing. In the control bar, set a corner radius to instantly round corners for modern, friendly shapes.
Best for: marks, avatars, soft highlights, geometric bases.
Combine with Constrain and Scale from Center to place perfect circles exactly where you need them.
Best for: triangles, hexagons, octagons, and faceted geometry.
Adjust the number of sides in the control bar for instant variations. Great for grid-based logos and icon foundations.
Best for: badges, bursts, seals, and ornamental marks.
Tune sides, radius, and spoke depth to create sharp or rounded stars. Small radius values produce soft, emblem-like stars that layer well in badge designs.
Best for: dividers, underlines, tick marks, and wireframes.
Use snapping for pixel-perfect alignment. Convert lines to shapes later if you need custom end caps with the Path/Stroke tools.
Need a head start? Open the Icon Library from the Shapes menu and search by keyword or browse categories (for example, esports). Insert any icon, ungroup it, and edit fills, strokes, and points. All icons are vector-based and ready for customization. Subscribers can use the full collection commercially inside Vector Ink.
Mastering the Shape Tools plus the Icon Library gives you fast, flexible building blocks for any design. Start simple, stack shapes, refine edges, and you will get clean, professional results every time.
Ready to build something now? Launch Vector Ink and try these techniques on your next logo or icon.
Sooner or later every designer, crafter, and marketer hits the same wall: y...
Take complete control of your outlines with the Stroke Properties Panel in ...
Typography can make or break a design — and Vector Ink gives you total fr...
Vector Ink’s Path Builder Tool lets you combine, cut, and create complete...
Vector Ink’s AI Image Generator lets you create logos, icons, illustratio...
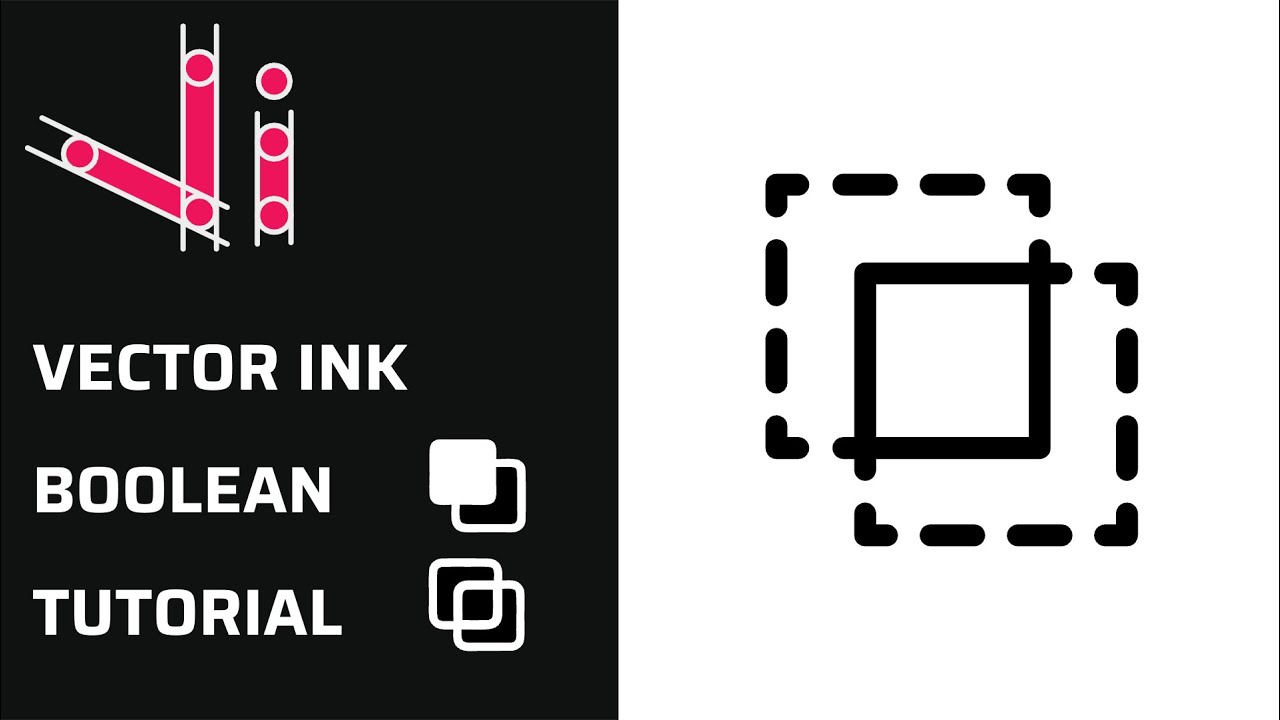
Boolean actions are the fastest way to build complex shapes from simple one...