
SVG to PNG: How to Convert SVG Files to PNG (and When You Should)
Sooner or later every designer, crafter, and marketer hits the same wall: y...
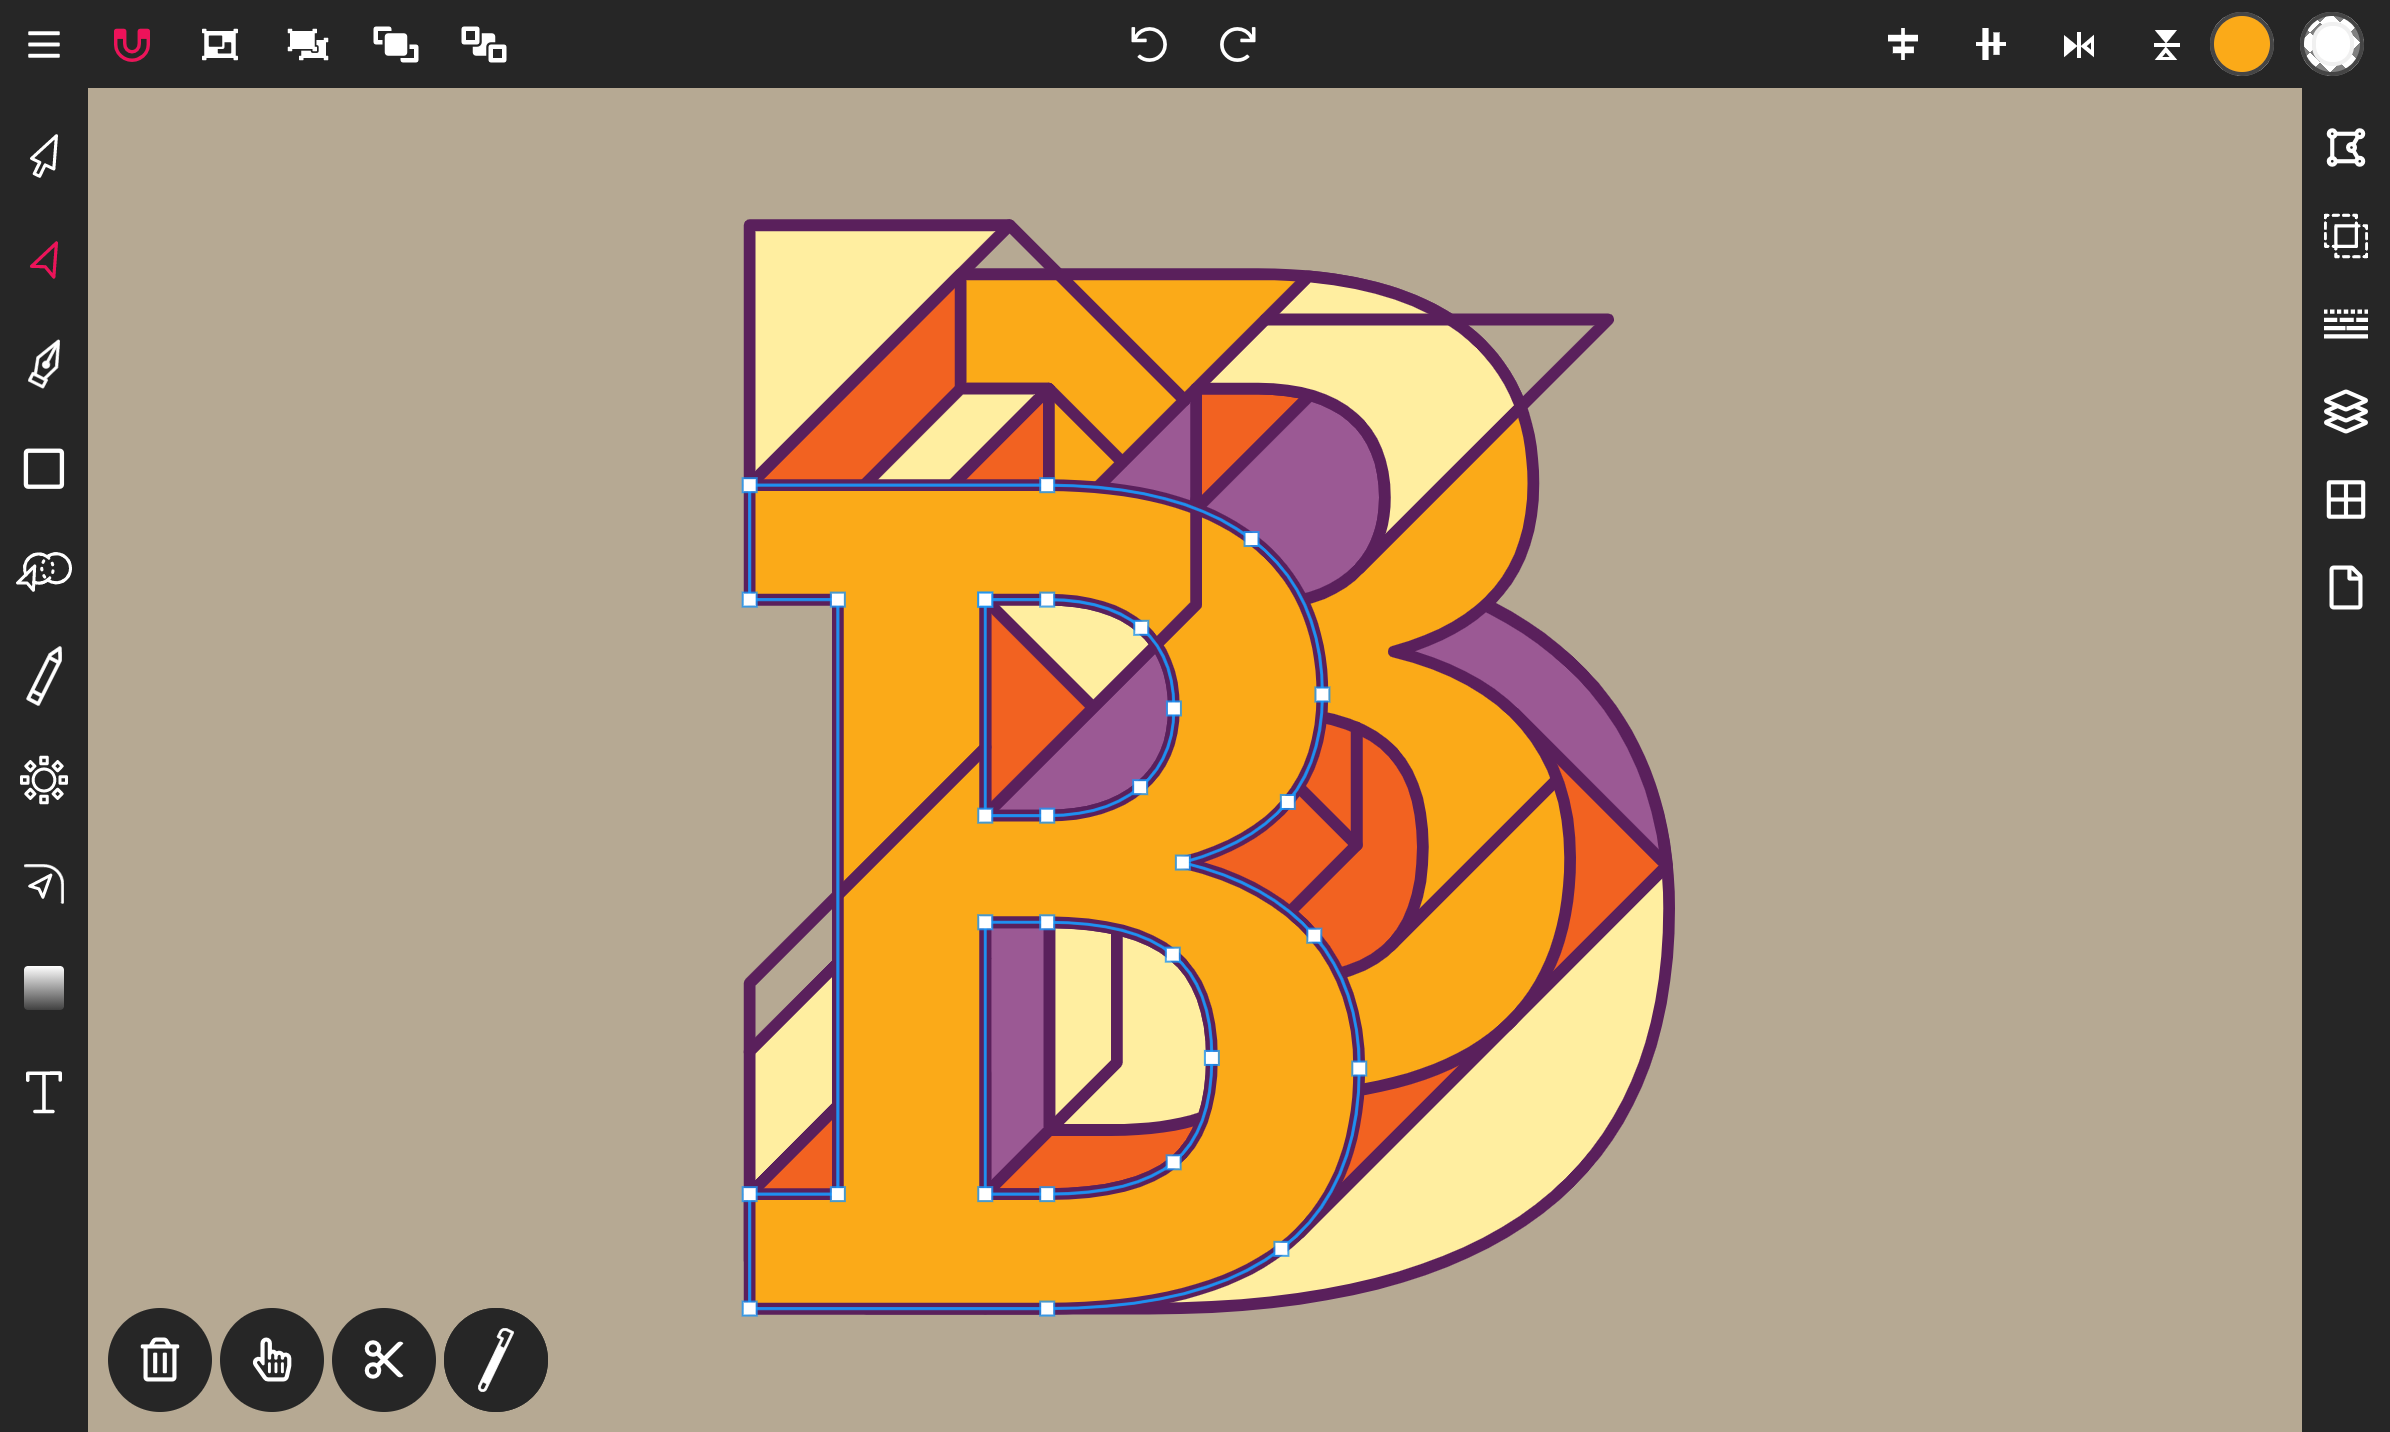
Vector Ink’s new Shape Builder Tool is a total game-changer for vector design. It takes everything you love about traditional shape builders — like in Illustrator or Affinity Designer — and makes it faster, cleaner, and easier to use. Whether you’re creating a logo, an icon, or intricate custom artwork, this tool turns multiple paths into one polished, professional shape with just a few drags.
You’ll find the Shape Builder Tool right below the Path Builder Tool in the toolbar. To begin, select all the paths or shapes you want to include in your shape-building operation. Then, activate the tool — your shapes will become active segments that can be merged, cut, or colored instantly.
Simply drag your cursor (or stylus) across the areas you want to combine. Each stroke connects adjacent shapes into a single, clean form.
One of the best features of Vector Ink’s Shape Builder Tool is its ability to create shapes with holes or cutouts inside them. To do this:
If you do it in reverse, the tool might not recognize inner holes correctly since the outer shape already occupies that space.
The Shape Builder Tool has two main interaction modes:
Unlike other design apps, Vector Ink allows you to erase lines while still in Merge Mode, which makes editing even faster.
Sometimes when you’re building shapes with many intersecting lines or overlapping paths, the Shape Builder might not detect certain regions (the highlight disappears). This happens when a stray line breaks the area’s boundary.
To fix it, simply remove or hide any unnecessary intersecting lines, then try again. Once the shape’s outline is clean, the Shape Builder Tool will recognize it instantly.
You can assign color while you’re creating shapes — a powerful feature unique to Vector Ink. Before dragging across a shape, choose a color from your palette or color panel. Every new merged region will immediately take on that color when you release.
This makes it easy to color-code sections of your design as you go, saving you time and helping visualize your composition in real-time.
Just like the Path Builder Tool, the Shape Builder can work from a single selected object if it intersects with others. When you activate the Shape Builder on one selected object, any overlapping shapes are automatically included in the process — but only the selected object is replaced at the end.
This makes it easy to cut or merge within a single element while maintaining other objects on your canvas untouched.
While tools like Illustrator’s Shape Builder focus mainly on flat merging, Vector Ink’s version adds more intelligence. It can build, erase, and color simultaneously, and it handles nested paths and complex overlaps more smoothly. It’s not just faster — it’s more intuitive for real creative work.
If you’ve ever struggled with complex path editing, the new Shape Builder Tool will change the way you work. Merge, erase, and color shapes in seconds — no tedious Boolean steps required. Try it now in Vector Ink and experience faster, cleaner vector design today.
Sooner or later every designer, crafter, and marketer hits the same wall: y...
Clean vector paths are the backbone of logos, icons, and illustrations. In ...
Typography can make or break a design — and Vector Ink gives you total fr...
In this tutorial, we create a professional logo in minutes using the AI Ima...
Step 1. Add text to the canvas. Tap on the Text icon located at the bottom of the toolbar.
Drawing in Vector Ink is not only super easy but also incredibly intuitive....