How to Combine Two Letters into One Logo | Intertwined Monogram Design in Vector Ink
In this tutorial, you'll learn how to transform two simple letters into a p...
In this tutorial, you’ll learn how to create the Flash logo from scratch using Vector Ink, the powerful vector design tool available on both web and mobile. By following along, you’ll master two essential tools: the Ribbon Tool for shaping the lightning bolt and the Path Builder Tool for adding depth and 3D effects. Whether you’re a beginner or an experienced designer, this guide will help you bring superhero energy to your next project.
Start by opening Vector Ink. You can launch it online at vectorink.io or download the mobile app from Google Play. Once inside, create a new project. On your blank canvas, select the Pen Tool. This will be your main tool for drawing the lightning bolt.
If you’re on a laptop, use Option + Mouse Wheel (Mac) or Alt + Mouse Wheel (Windows) to zoom in or out. Position your view so you can comfortably draw in the center of the canvas.
Using the Pen Tool, click to create your first point at the top of the canvas. Continue placing points in a zig-zag pattern to form the shape of a lightning bolt:
Next, select your lightning bolt path and activate the Ribbon Tool. This tool allows you to expand and shape your stroke into a full vector object. Pull on each corner handle outward to give the bolt a bold, dynamic form.
After adjusting the corners, switch back to the Selection Tool to confirm your shape. You should now have a solid lightning bolt ready for color.
Open the Color Panel and scroll to the warm tones section. Choose a bright yellow for the bolt’s fill color. Click off the panel to apply the color. Then, move this shape behind its original stroke to prepare for the next 3D effect step.
To create the 3D illusion, activate the Line Tool and draw lines across the lightning bolt—connecting corners diagonally and horizontally. Once you’ve added your guide lines, select everything and open the Path Builder Tool.
With Path Builder active:
Now, delete the construction lines used to form the bolt’s edges. If you can’t select them directly, open the Layers Panel, locate the line elements, and remove them manually. You’ll be left with a clean, professional lightning bolt shape.
With your bolt complete, it’s time to add the circular background:
Finally, open the Document Panel and change the background to a darker orange for contrast. Adjust stroke and fill colors as needed for perfect visual balance.
Congratulations! You’ve just created The Flash’s iconic logo using Vector Ink’s Ribbon Tool and Path Builder Tool. This project demonstrates how powerful and intuitive Vector Ink is for crafting dynamic logos and shapes — whether you’re on desktop or mobile. Keep experimenting with colors, gradients, and effects to bring even more energy to your designs.
Ready to design your own superhero logo? Launch Vector Ink today and start creating anywhere, anytime. ⚡
In this tutorial, you'll learn how to transform two simple letters into a p...
Discover how easy it is to open the Vector Ink Icon Library, import icons t...
Most icon libraries offer a handful of basic shapes and call it a day. Vect...
In this tutorial, we'll guide you step-by-step on how to create a badge log...
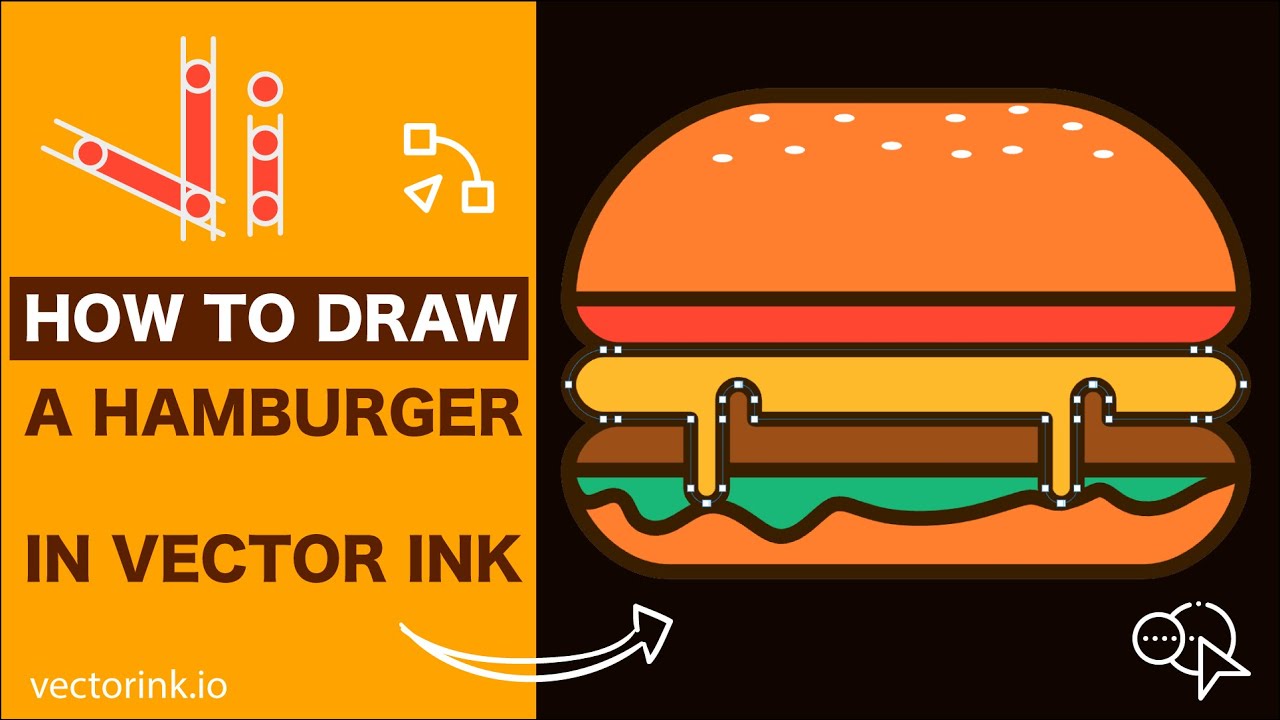
In this fun Vector Ink tutorial, you'll build a tasty hamburger icon from s...
You don't need to be an artist to create a clean, professional logo. In thi...