
SVG to PNG: How to Convert SVG Files to PNG (and When You Should)
Sooner or later every designer, crafter, and marketer hits the same wall: y...
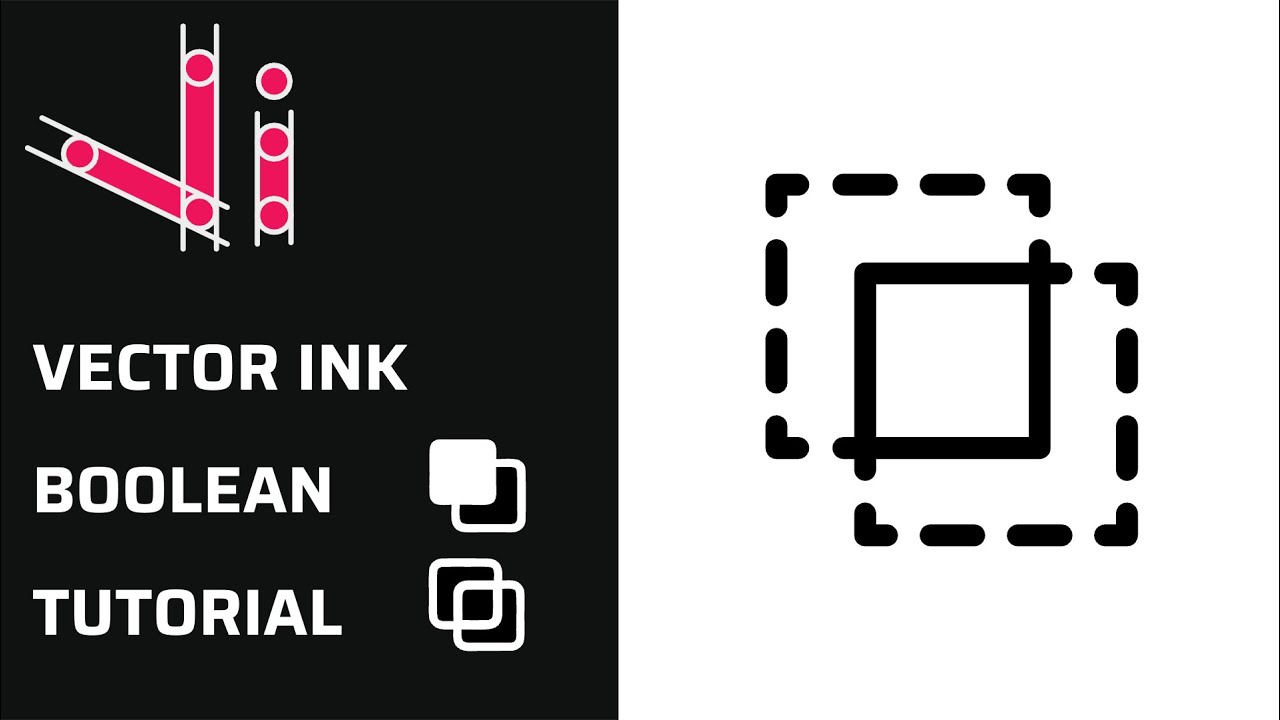
Repetition is a key element in creating balanced, structured, and efficient designs. With the Copy Tool in Vector Ink, you can quickly duplicate any object in rows, grids, or along a custom path — perfect for creating patterns, badges, icons, and more. In this tutorial, we’ll cover every feature of the Copy Tool so you can streamline your workflow and design smarter.
Start by placing a simple object on your canvas — for example, a square using the Rectangle Tool. Give it a fill color using the Color Panel to make it easier to see your duplicates. Once your object is ready, select the Copy Tool located between the Ribbon and Corner tools in the toolbar.
When the Copy Tool activates, Vector Ink will automatically create a few duplicates of your object arranged around a small circular anchor. You can drag this anchor point anywhere on the canvas to control how the copies are distributed.
Use the Number of Copies input to increase or decrease the total duplicates. Adjust Scale to make each copy smaller or larger in sequence, and modify the Angle to control how far the copies rotate around the anchor — for example, 180° creates a half-circle, while 360° forms a full loop.
Switch the Distribute mode from “Around Point” to Left to Right or Top to Bottom. This arranges your copies in a clean horizontal or vertical line. You can then adjust:
This is ideal for creating repeating icons, text backgrounds, or button rows with perfect spacing.
For structured layouts, select the Grid mode. This allows you to define the number of Rows and Columns as well as the Spacing X and Spacing Y between them. Vector Ink will automatically generate a perfect grid of duplicates — perfect for tiled patterns, layouts, and modular design elements.
One of the most powerful features of the Copy Tool is the On Path option. To use it:
Now your selected object will be distributed perfectly along the curve or line. You can control the number of copies, rotation angle, and spacing for smooth, evenly placed repetition. The Offset option adjusts where the pattern begins on the path, while Distance moves the copies closer to or farther from the path’s line — even creating mirrored rows on each side.
The Distance property lets you move duplicates outward or inward relative to the path, while the Inner Offset slider gives you a mirrored set of copies for layered or wrapped effects. You can use this for unique decorative designs, curved text effects, or repeating motifs around circular logos.
The Copy Tool in Vector Ink is an incredible time-saver for repetitive layouts and creative patterns. From simple rows to complex path-based duplication, it helps you design faster while maintaining precision and consistency.
Ready to bring your ideas to life? Try building your own repeating patterns or curved layouts today —
Launch Vector Ink and explore the power of the Copy Tool for yourself.
Sooner or later every designer, crafter, and marketer hits the same wall: y...
Dial in your workspace and outputs the right way. This tutorial covers Proj...
The Draw Tool in Vector Ink makes freehand sketching feel natural while del...
In this tutorial, we create a professional logo in minutes using the AI Ima...
Vector Ink’s AI Image Generator lets you create logos, icons, illustratio...
Boolean actions are the fastest way to build complex shapes from simple one...