Dial in your workspace and outputs the right way. This tutorial covers Project Settings (grids, guides, rulers, snap), Document Settings (size, background, units), and Export options (PNG/JPG, transparency, selection bounds, and crop) so your designs are precise and production-ready.
What You’ll Learn
How to enable grids, pull guides from rulers, and read guide measurements.
Choosing units (px/in) and setting an appropriate DPI for raster exports.
Configuring document size, background color, and presets.
Exporting PNG/JPG with transparent background, selection bounds, and crop.
Project Settings: Grid, Guides, Rulers & Snap
Open Settings (gear icon) → toggle Show Grid, Show Guides, and Show Ruler.
Pull guides from the rulers; Vector Ink displays distance between guides for pixel-perfect layouts.
Grid Size & Units: Set grid spacing (e.g., 25) and choose units (Pixels or Inches).
DPI: Controls the resolution of exported PNG/JPG. Pick values that match your output (e.g., 72–150 for web, 300 for print previews).
Snap Options:
Snap to Bounds – align edges/centers of objects.
Snap to Angles – rotation snaps (every 45°).
Snap to Grid – lock to grid lines.
Snap to Sizes – match another object’s width/height.
Snap to Guides – snap objects to custom guides.
Document Settings: Canvas Size & Background
Open Document (paper icon) to set the canvas background color via palette, wheel, or eyedropper.
Set Width/Height in your active units (px or in). Use built-in presets for common sizes (social, letter, device).
Picker Type (Wheel, HSB, RGB, Hex) for precise brand colors.
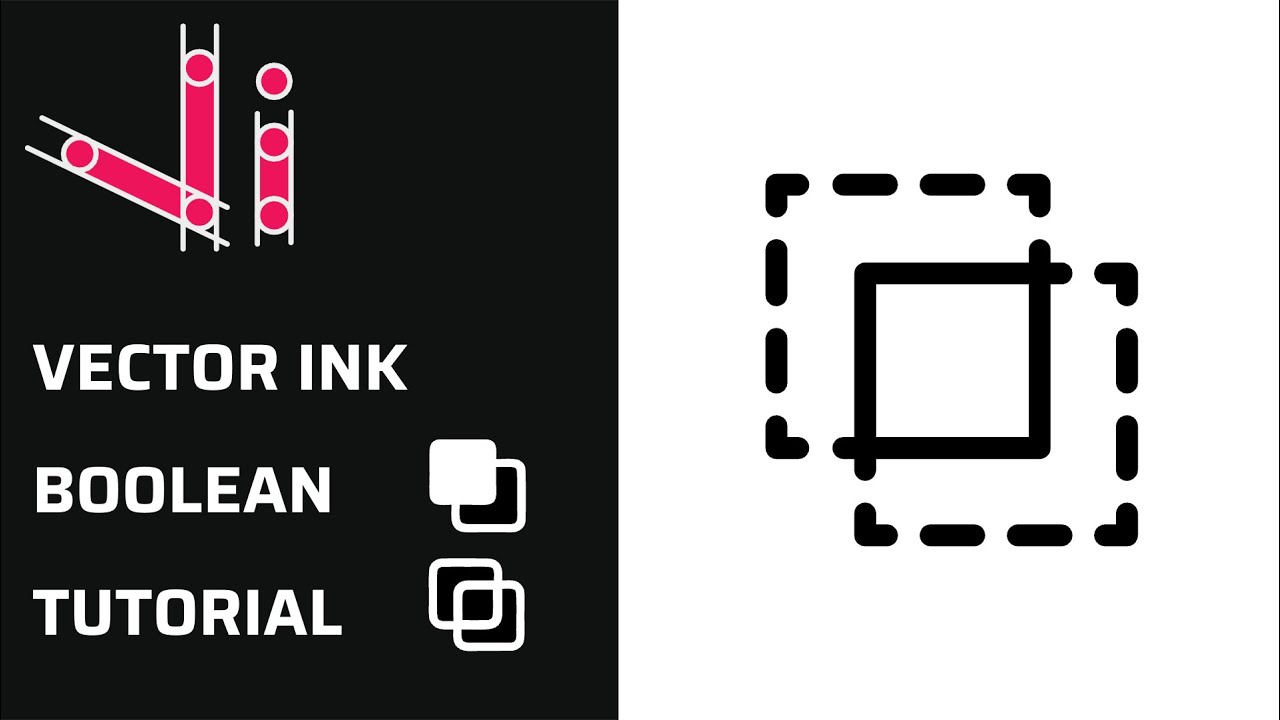
Exporting PNG/JPG with the Right Bounds
Use the Export panel for PNG or JPG (SVG/PDF are available in the left panel).
Format: PNG supports transparency; JPG does not.
Bounds:
Document – exports the full canvas.
Selection – exports only the selected objects.
Crop – activate the crop tool, draw a region, or enter exact crop dimensions.
Final Width: The definitive output width (height scales proportionally). Vector sources ensure crisp exports at any size.
Save: Initiates the download to your device.
Quick Workflows
Transparent Logo for Web: Set document background as needed while designing → Export as PNG with Transparency on → Selection bounds for tight logo crops.
Social Post: Choose a preset (e.g., 1080×1080) → Design → Export Document bounds at Final Width 1080 for platform-ready images.
Mockup Slice: Use Crop bounds to grab just the area you need → Set Final Width to the exact pixels your site requires.
Tips & Troubleshooting
Jagged preview? Increase DPI for raster exports (PNG/JPG). Vectors remain crisp; DPI only affects raster output.
Objects not snapping? Ensure the relevant Snap option is enabled and zoom in for precise placement.
Wrong export area? Verify Bounds (Document vs Selection vs Crop) before saving.
Color mismatch on export? Confirm background color (or transparency) and re-export as PNG if needed.
Set Up Once, Export Perfect Every Time
With grids, guides, and exact document settings, you can export consistently sharp assets for web or print. Open Vector Ink, configure your canvas, and ship pixel-perfect graphics in minutes.