
SVG to PNG: How to Convert SVG Files to PNG (and When You Should)
Sooner or later every designer, crafter, and marketer hits the same wall: y...
Rounded corners can transform a rigid vector shape into a clean, modern, and polished design. In this tutorial, you’ll learn how to use Vector Ink’s upgraded Corner Tool to soften edges, adjust corner radii, and preserve those curves even after scaling.
For exact values, open the Corner Control Panel and enter a numeric radius (e.g., 20px). This instantly applies the change to all active corners, giving you pixel-perfect control over roundness.
You can freely switch between manual dragging and precise numerical input to match your design needs.
Unlike earlier versions, Vector Ink 6 maintains the curvature of corners even when you resize or scale your shapes. This means your rounded edges stay perfectly smooth and consistent, whether you shrink a logo icon or enlarge a background shape.
This feature ensures visual consistency across designs, making it perfect for creating scalable branding assets.
If you modify a shape using the Point Tool after rounding its corners, the existing rounded corners in that section may reset. This happens because Vector Ink detects new path geometry and automatically redefines corner points.
To maintain your rounded edges, finish your shape’s basic edits before applying the Corner Tool — or simply reapply corner rounding after point adjustments.
Clean design is all about precision and balance — and with the Corner Tool, you can perfect both. Try it out now in Vector Ink and bring soft, professional curves to your next design.
Sooner or later every designer, crafter, and marketer hits the same wall: y...
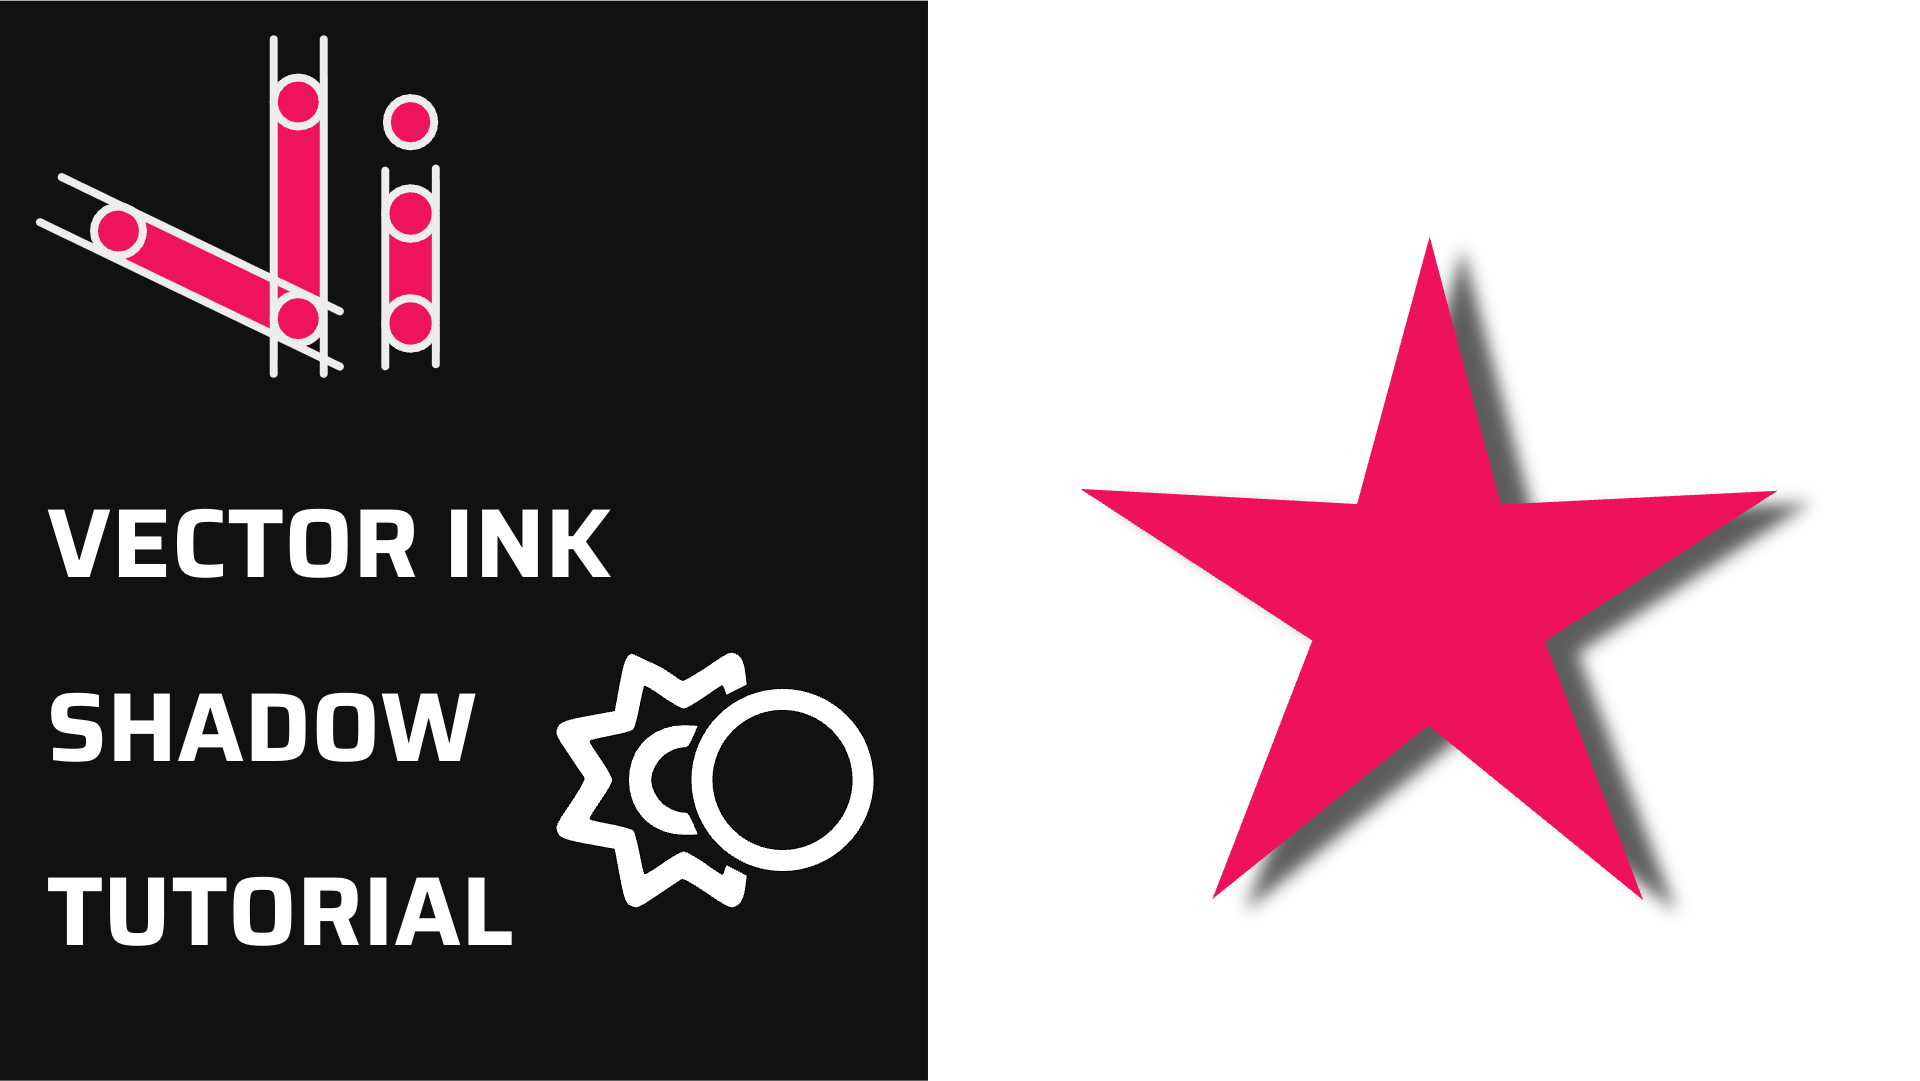
Shadows add instant depth, hierarchy, and polish to your vector designs. In...

Dial in your workspace and outputs the right way. This tutorial covers Proj...
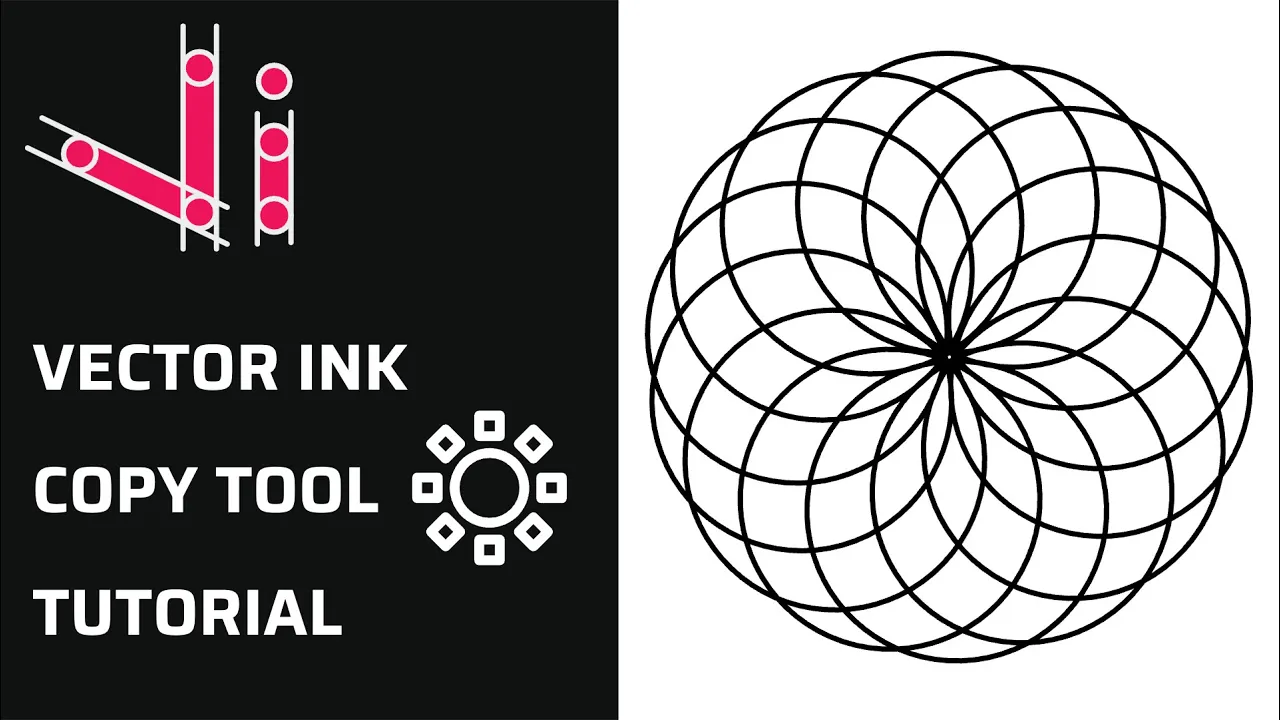
Repetition is a key element in creating balanced, structured, and efficient...
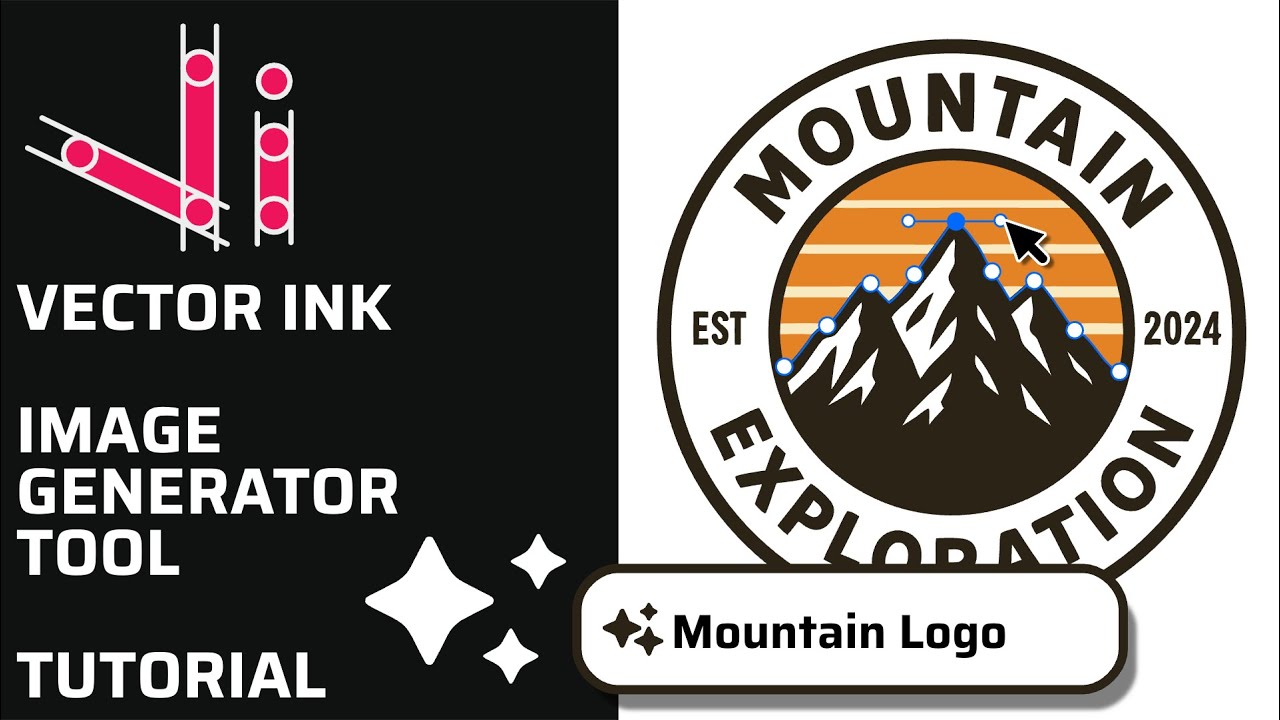
Vector Ink’s AI Image Generator lets you create logos, icons, illustratio...
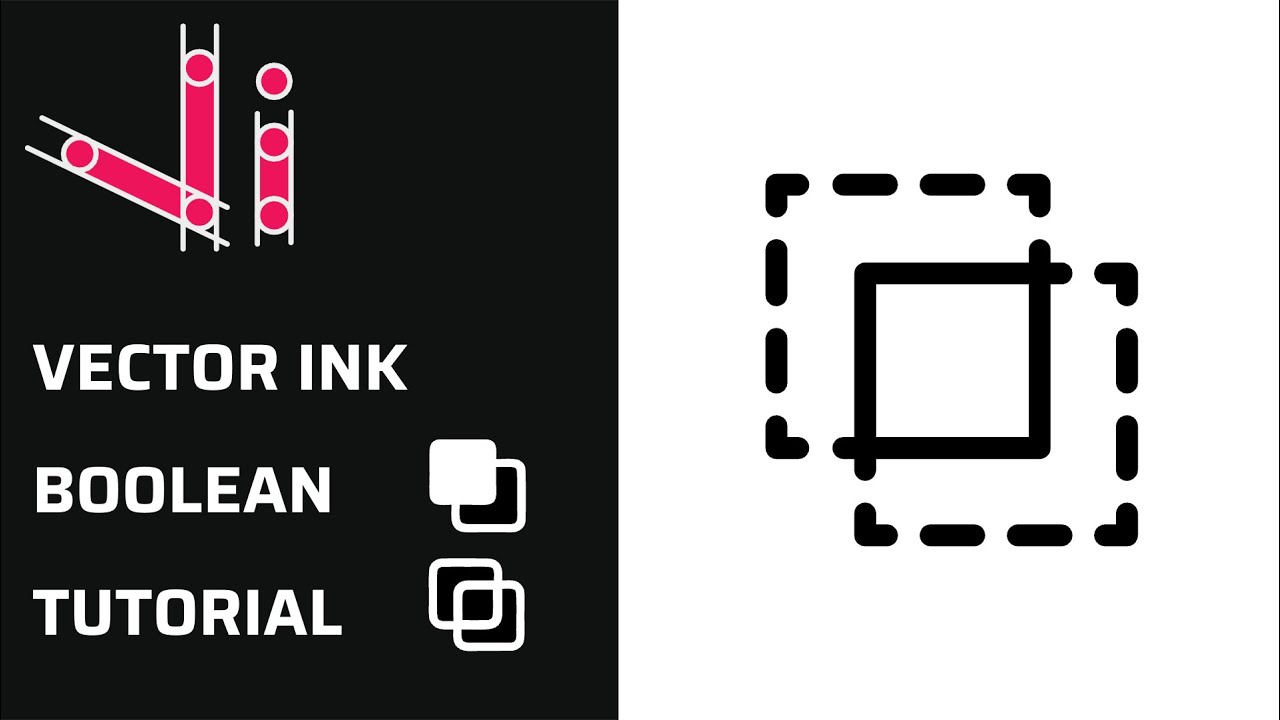
Boolean actions are the fastest way to build complex shapes from simple one...