Vector Ink Selection Tool: Move, Resize, Rotate & Align Like a Pro
Introduction
The Selection Tool is your everyday driver in Vector Ink. It’s how you select, move, resize, rotate—and it unlocks powerful actions like multi-select, target-based alignment, scale from center, and anchor-based transforms. Whether you’re on desktop, tablet, or phone, this quick guide shows you how to work faster and more precisely.
Select, Move, Rotate, Resize
Select: Tap/click any object. Tap the canvas to deselect.
Move: Drag anywhere on the canvas while selected.
Rotate: Drag the small circle above the selection; snapping occurs every 45°.
Resize: Drag handles on the bounding box. If you only see one handle, tap it to toggle all handles.
Precision Controls: Constrain, Scale from Center, Anchor
Constrain: Maintain aspect ratio while resizing. Toggle via the action menu, or use the single-handle constrain mode.
Scale from Center: Expands/shrinks from the object’s center—great for symmetrical adjustments.
Anchor: Activate Anchor, drag the small circle to any point, and all rotations and scales happen from that point. Perfect for hinge-like rotations or pivot-based scaling.
Multi-Select & Selection Box
Select Multiple: Enable the action, then tap objects to add/remove them from the selection.
Selection Box: Drag a marquee on empty canvas—any objects fully inside the box are selected when you release.
Target Selection for Alignment
Use Target Selection to align objects relative to a specific object instead of the canvas. Select several objects, choose a target (e.g., a logo mark), then apply Align actions—the selection snaps to your target’s bounds for pixel-perfect layout.
Touch & Keyboard Tips
Touch: Drag a handle with one finger; touch the canvas with a second finger to constrain proportionally.
Undo: Two-finger tap on mobile; or use the top toolbar.
Keyboard: Hold Shift while resizing to constrain proportionally.
Troubleshooting & Pro Tips
Only one handle showing? Tap it to reveal all handles (toggles constrain mode).
Rotations feel off? Set an Anchor point first, then rotate for exact pivots.
Aligning to canvas by mistake? Enable Target Selection and pick the object you want to align to.
Accidental skew/stretch? Toggle Constrain or hold Shift during resize.
Quick Practice: 3-Minute Drill
Draw three shapes (circle, square, star). Multi-select them, then Align Center horizontally.
Pick the square as your Target Selection, then align the circle to the target’s left and the star to its right.
Activate Anchor on the star and place it at the circle’s center. Rotate the star to see pivoted rotation in action.
Ready to Put It to Work?
Open a recent logo or icon and try these moves: constrain-resize a mark, set an anchor to pivot a highlight, then align your text to a target object for a polished lockup. When flow clicks, everything else in Vector Ink feels easier.
Launch Vector Ink and start building cleaner layouts, tighter logo lockups, and faster edits—right now.
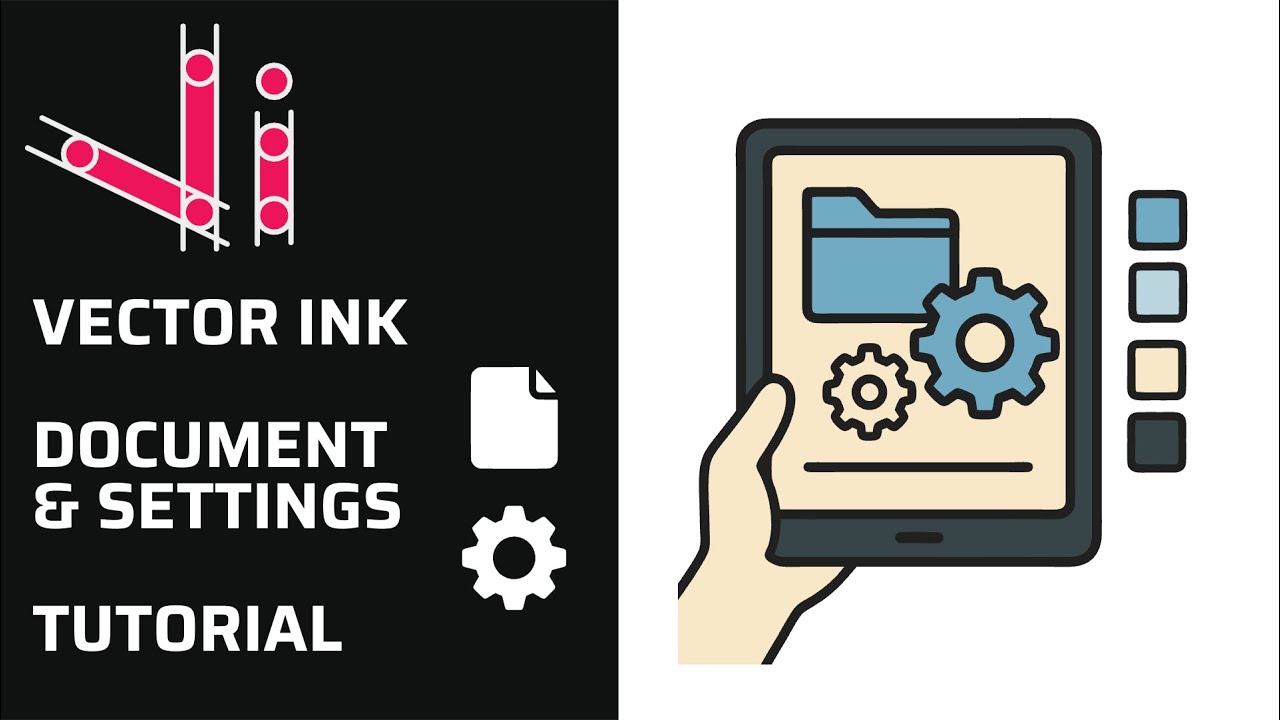
Dial in your workspace and outputs the right way. This tutorial covers Project Settings (grids, guides, rulers, snap), Document Settings (size, background, units), and Export options (PNG/JPG, transparency, selection bounds, and crop) so your designs are precise and production-ready.
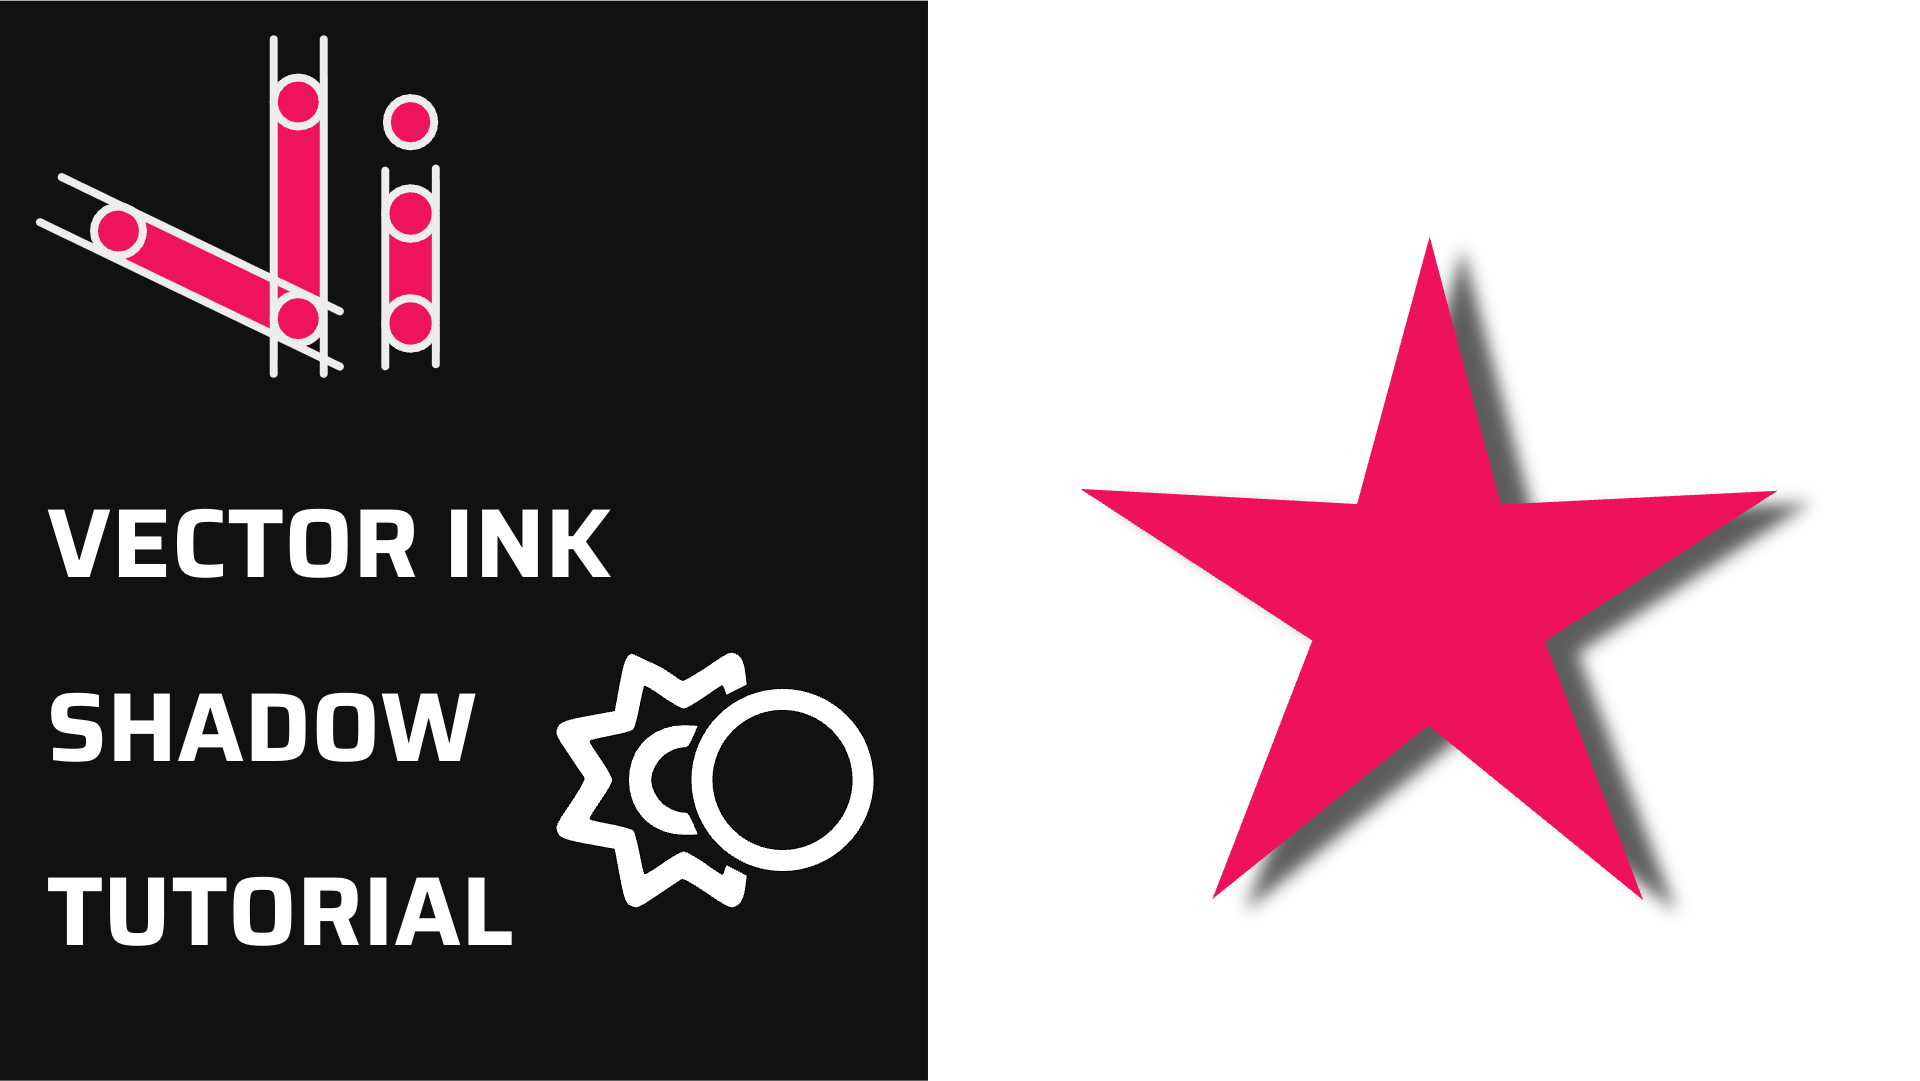
Shadows add instant depth, hierarchy, and polish to your vector designs. In this quick tutorial, you'll learn how to use Shadow Properties in Vector Ink to create subtle UI shadows, bold logo lighting, and everything in between. We'll cover enabling shadows, revealing opacity, positioning with the on-canvas control, and dialing in blur and color.
Clean, consistent shapes are the foundation of strong vector design. In this tour, we will walk through Vector Ink's Shape Tools and the built-in Icon Library so you can create polished logos, icons, and layouts quickly and with precision.
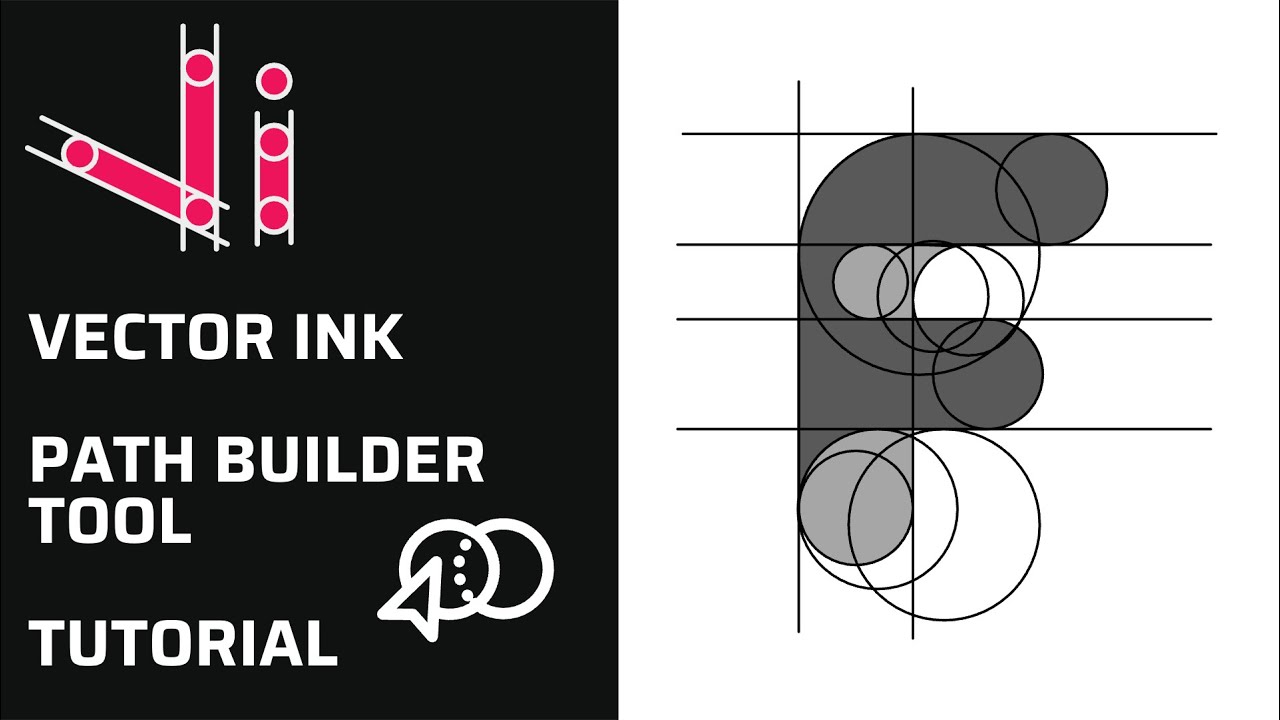
Vector Ink’s Path Builder Tool lets you combine, cut, and create completely new shapes from existing paths with intuitive precision. Whether you’re crafting a complex logo or a minimal icon, this tool gives you the power of traditional shape builders — but with more control and freedom.
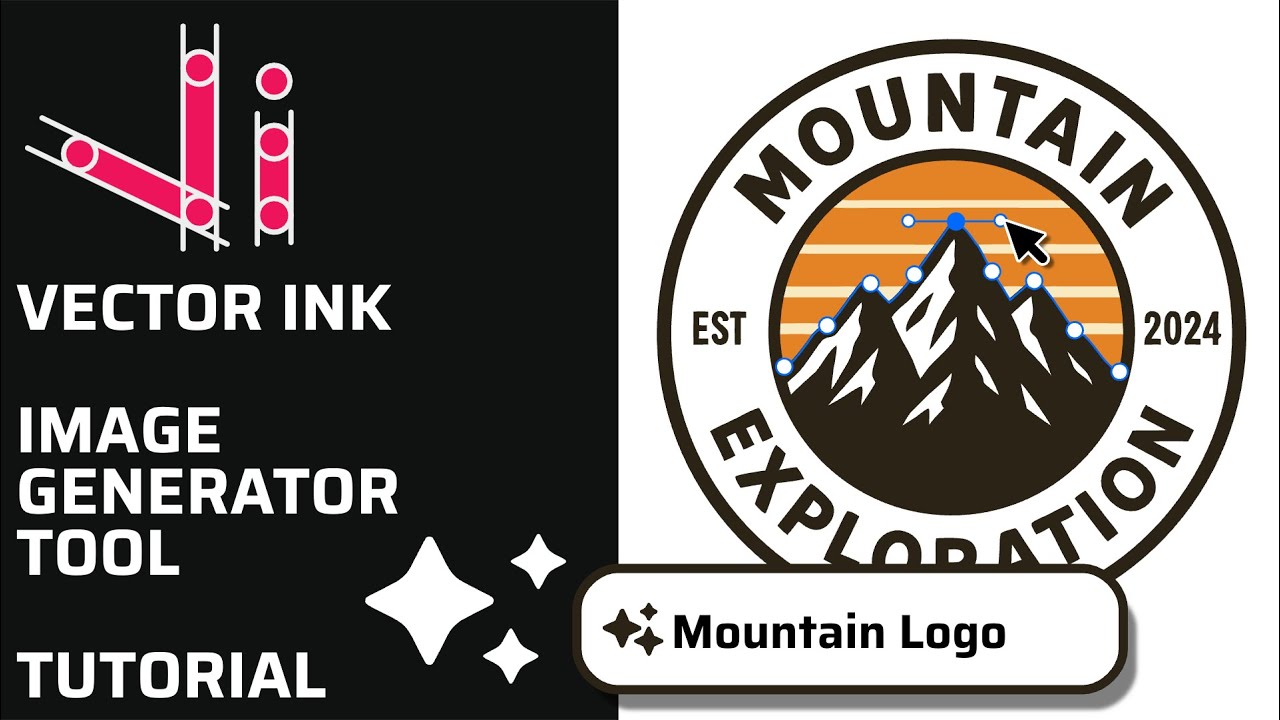
Vector Ink’s AI Image Generator lets you create logos, icons, illustrations, badges, textures, and more with guided styles and prompt controls — then refine results directly on the canvas. In this guide, you will learn how to generate art, switch styles, redraw existing images, vectorize raster results, and remove backgrounds, all without leaving Vector Ink.
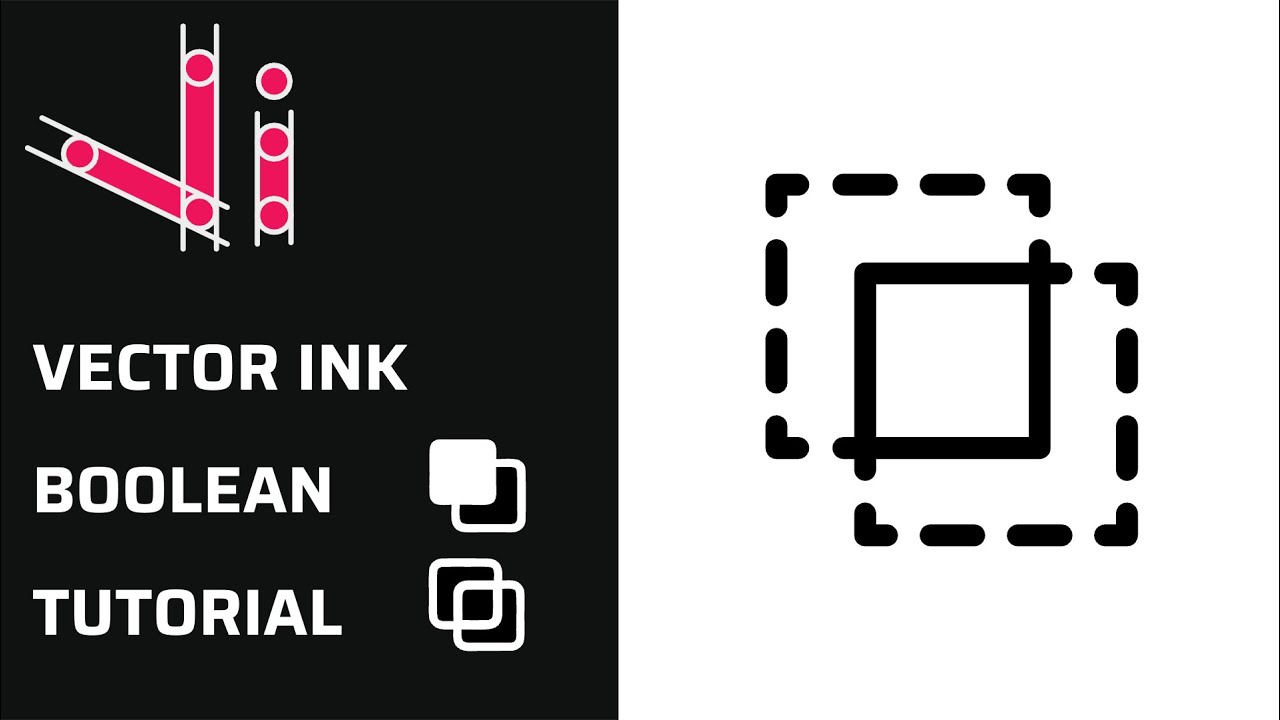
Boolean actions are the fastest way to build complex shapes from simple ones. In this tutorial, you’ll learn how to merge, cut, and combine paths in Vector Ink to create clean, professional vector artwork for logos, icons, and more.